💡 Skip ahead to:
Introduction
The Allxon CLI (Command Line Interface) tool is a powerful utility designed to perform and execute various remote edge device management tasks. Without the need to rely on a graphical user interface (GUI), Allxon CLI is particularly well-suited for headless edge devices. It allows users to execute various commands for streamlined and centralized edge AI device management.
Getting Started
To open the Allxon CLI tool:
- On Linux OS:
- Open the Terminal
- Enter the relevant Allxon CLI commands
- On Windows OS:
- Open the Terminal
- Navigate to the location of the Allxon CLI tool (location may vary for each computer).
Example:
cd C:\Program Files\allxon-cli\bin
- Enter the relevant Allxon CLI commands.
Available Commands
1.
allxon-cli agent pairing-code
This command allows you to obtain the device pairing code for Allxon Portal.
💡Note: The pairing code is only available for unpaired devices. If a device has already been paired, the system will indicate that it is already paired and will not display a pairing code.
2.
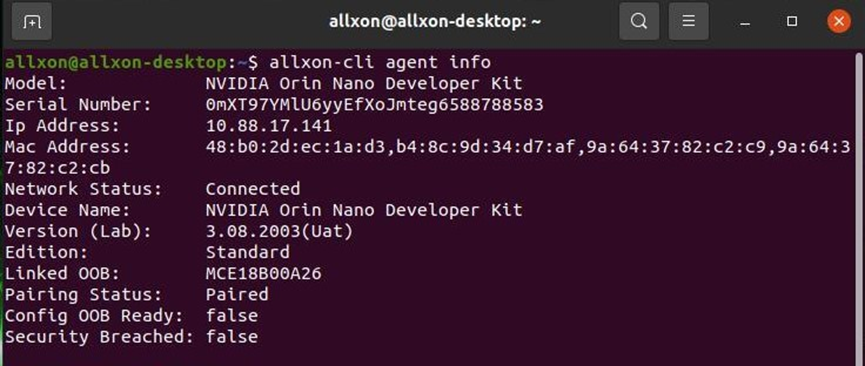
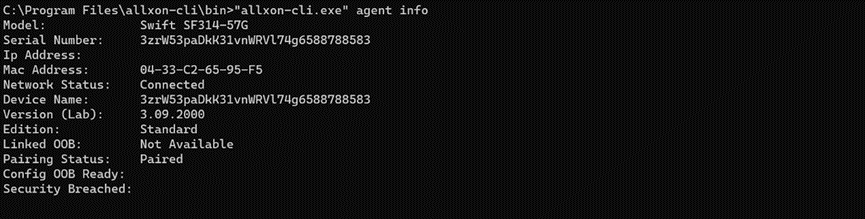
allxon-cli agent info
This command helps you obtain information about the status of the Allxon Agent.
💡Note: The status information of Allxon Agent will be obtained as below:
Example:
- Linux
- Windows:
3.
allxon-cli agent diagnose
This command allows you to check the network environment of the Allxon Agent.
Learn more: https://www.allxon.com/knowledge/internet-access-requirement-for-allxon-agent
4.
allxon-cli log -o TEXT:DIR
This command allows you to fetch Allxon system logs. The "TEXT:DIR" parameter in the command is user-defined, you can specify the directory according to your needs.
Usage Example
allxon-cli log -o ~/Desktop
This command will save the generated log in the Desktop directory.
💡Note: Make sure to specify the output directory (DIR) as TEXT.
👉🏻Learn more about https://github.com/allxon/allxon-cli/tree/master