Instruction
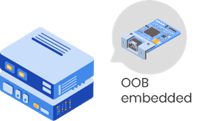
Allxon swiftDR OOB Enabler is a hardware module that can be integrated in edge devices for Out-Of-Band disaster recovery services. Allxon OOB technology allows you to detect the device power status, force shutdown, power ON/OFF unresponsive devices, and even further customize OOB features tailored to your industry.
<Environment>
On your edge device with Allxon swiftDR OOB Enabler.
Please ensure that edge device does not connect to any network, including wired and wireless, for the proper operation of subsequent steps.
Recommended OS*:
> Linux ARM64 (NVIDIA Jetson): L4T 35.1 to L4T 36.3
> Linux X86: Ubuntu 20.04, 22.04
> Windows 10 (x86_64) enterprise LTSB/LTSC build: 1607, 1809*
* To enable OOB management services in other operating systems or versions, please contact us to confirm availability.
💡 Note
Do not have Allxon swiftDR OOB Enabler integrated in your device?
Please contact Allxon Service at service@allxon.com for more information to see how you can also start using OOB technology on your devices.
After you have completed In-Band pairing and added your device onto Allxon Portal, you will now have the option to link your Allxon swiftDR OOB Enabler to Allxon Portal by following these simple steps:
Step 1. Bring up Allxon Agent on Edge Device
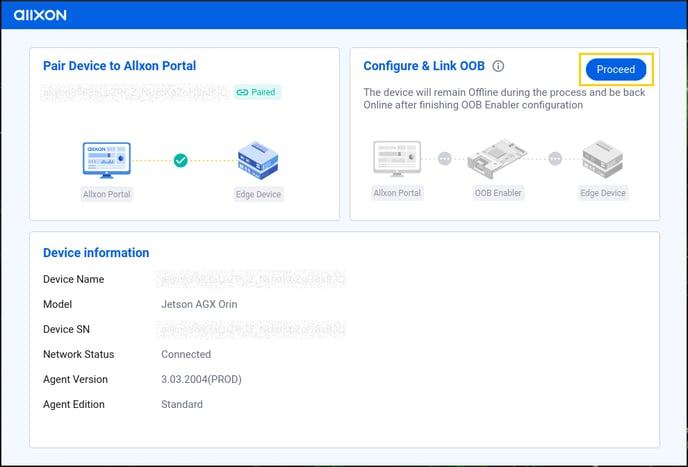
Bring up Allxon Agent by click agent_ui in application menu on your edge device.

The pairing status: Paired on the top left indicates the successful connection between Allxon Agent and your Allxon Portal account. Upon successful paring, you can now go ahead and configure the OOB Enabler by clicking Proceed button on the top right.
Step 2. Connect Device to OOB Enabler
- Disconnect the Device's Ethernet port from the Internet.
- Use the same Ethernet cable to connect both the device's and the OOB Enabler's Ethernet ports.
- Click on Next when both ports have been connected using the same Ethernet cable.
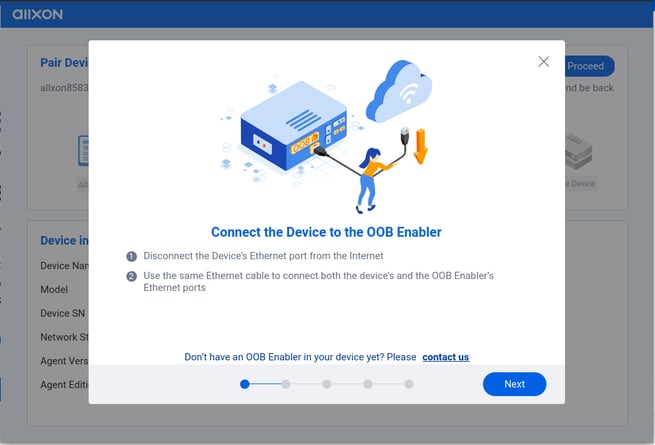
💡 Note: The device will remain offline during the process until the Ethernet cable is reconnected to the Internet as instructed later.
Step 3. OOB Enabler Network Setting
- To set the OOB Enabler's network, it is recommended to use the Default network setting with DHCP for easier and faster configuration. If you'd like to configure the network on your own, select Customize network setting.
- Default network setting with DHCP
- Customize network setting (IP, Net mask, Gateway, DNS server)
- Click Next to start the network configuration.
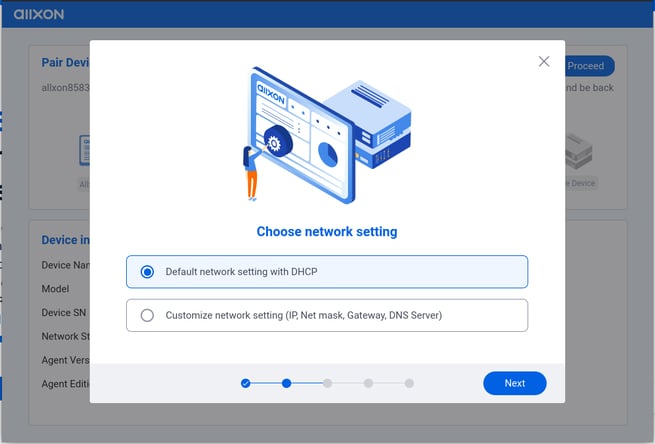
- Click Next when the network configuration is complete.
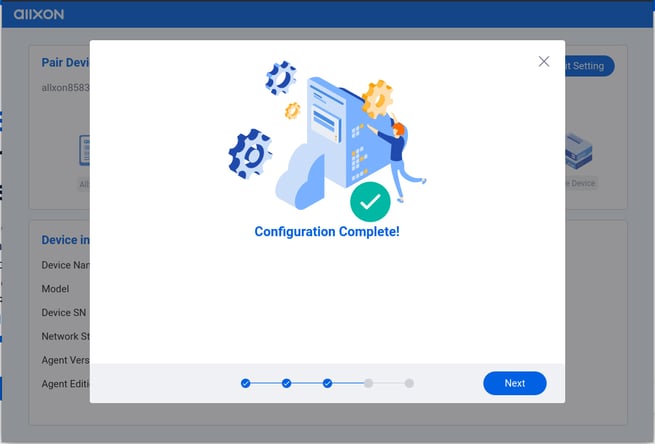
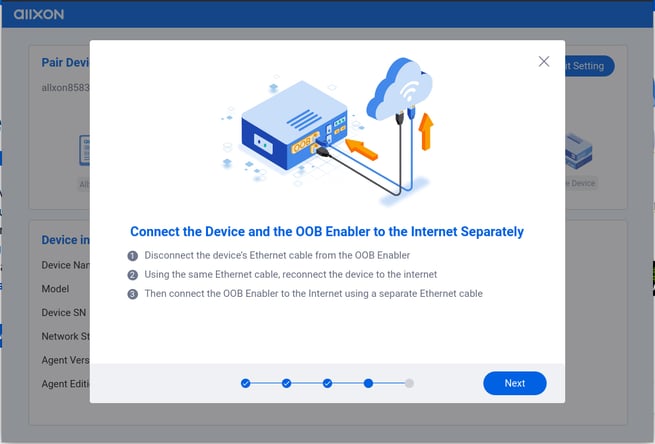
Final Step: Reconnect LAN
Your OOB Enabler is now successfully linked to your edge device. Please follow the instructions below to reconnect both the device and the OOB Enabler to the network.
- Disconnect the Ethernet cable from the device Ethernet port and OOB Ethernet port.
- Reconnect the device Ethernet port to the internet with one Ethernet cable.
- Reconnect the OOB Ethernet port to the internet with another Ethernet cable.
- Click Next.
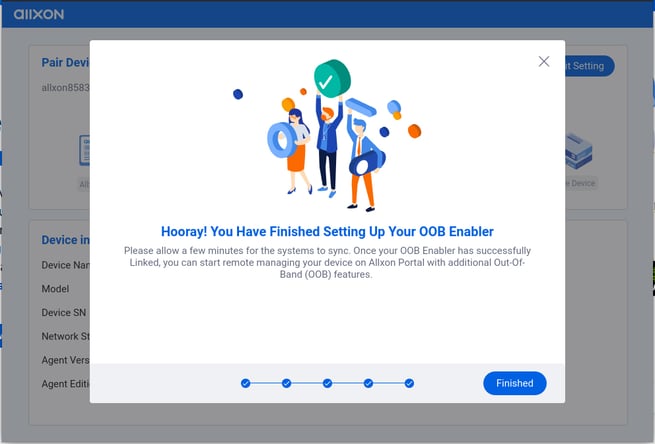
Upon successfully linking the device and OOB Enabler together, and reconnecting both of them to the network, the serial number of your OOB Enabler should appear on the top right of Allxon Agent with a Linked status indicated on the side.
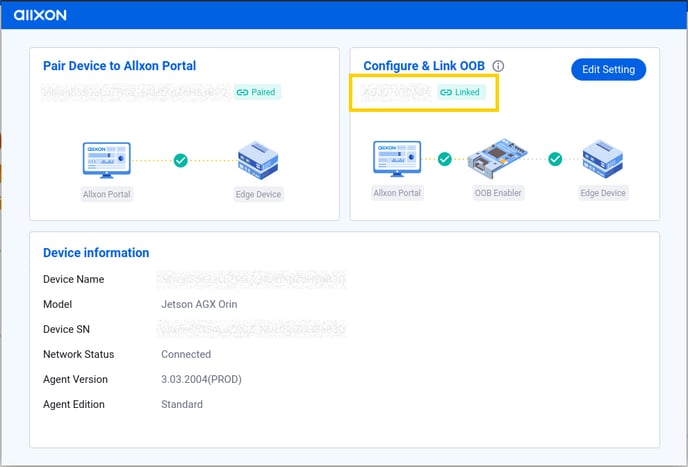
You can now head over to Allxon Portal to start managing your device with additional Out-Of-Band features.
