Before you start tracing the deployment process, it's important to understand how regular OTA deployment work. Usually, the "ota_deploy.sh" shell script manages all the necessary steps. However, this script doesn't create clear messages or log files to track the process. If any step fails during deployment, the only sign is when an unknown step returns a non-zero value, which can make it difficult to investigate further.
Redirect Log File
To gain insight into the deployment process, follow these steps to redirect the log file:
- Copy your original "ota_deploy.sh" into a new file, which we'll name "install.sh" for this example.

- Replace all instructions in "ota_deploy.sh" with the following line: "./install.sh > /opt/allxon/tmp/core/appies_ota/logs 2>&1".
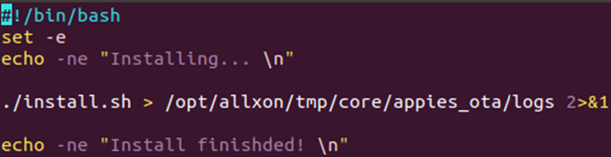
Note: Ensure that the output directory is created before initiating OTA deployment (in this example, the output directory is "/opt/allxon/tmp/core/appies_ota/").
- Ensure that both “ota_deploy.sh” and “install.sh” can be executed.
- Repackage OTA artifacts using Allxon CLI and retry the deployment.
Accessing Log File
After the deployment finishes, you can get the log file from the specified path. We suggest using Allxon Portal to retrieve logs, especially if your devices are hard to reach. Here's a simple two-step guide:
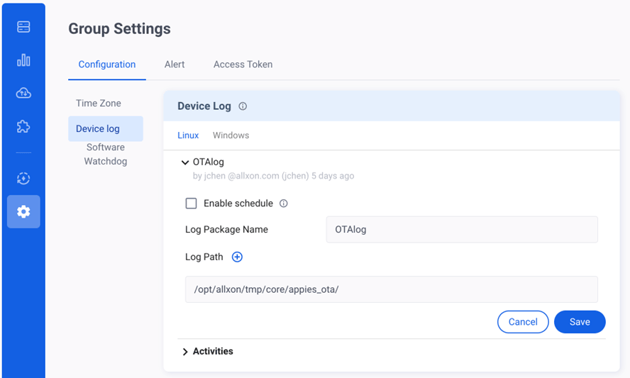
- In your Allxon Portal, navigate to Group Settings -> Device Monitoring -> Device Log, and configure device log activity settings accordingly.
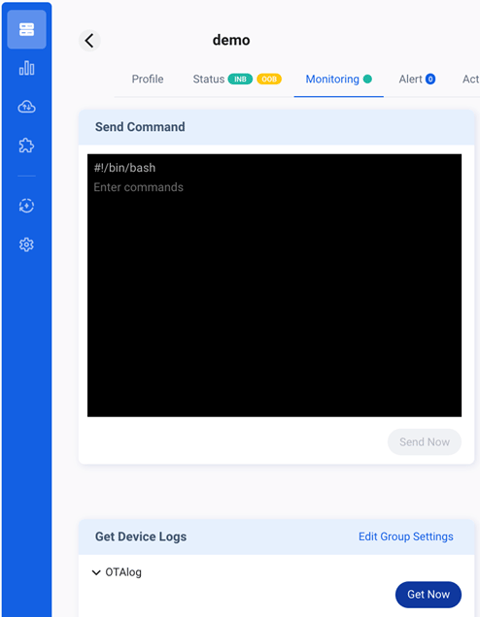
- Return to your device monitoring page. In the Get Device Logs section, locate the saved log activity specified in the previous step. Use the Get Now button to have Allxon Agent package the logs located under the specified path.
- After obtaining the log file from your device, you can trace every step involved in your OTA deployment.