Notice:
This feature is not actively maintained.
Current support is limited to Linux.
If you require Windows support, please contact us.
Let’s Get Started!
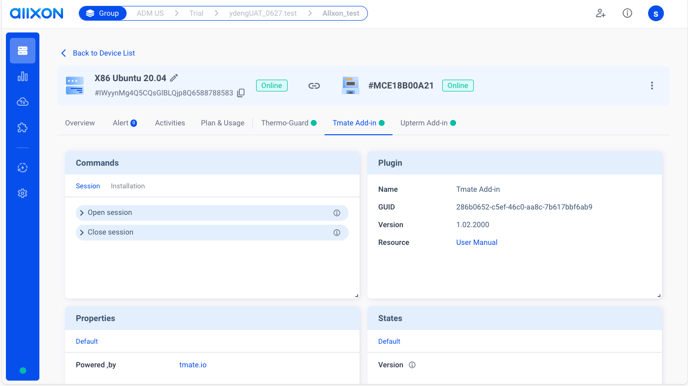
1. Initiate Tmate Add-In Plugin for Installation
- Head over to Device Details Page, and click on the Tmate Add-in tab.

- Click on the Install Tmate (under the Installation tab) in the Commands card, then click on the Execute button.
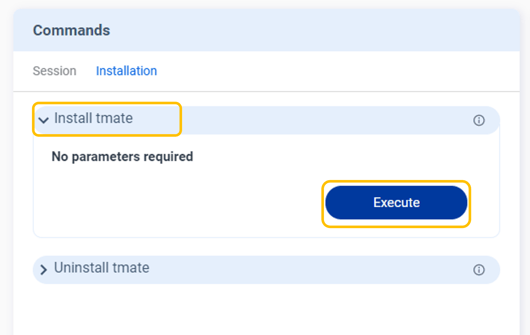
- Select devices to send command and click on the Execute button.
- Wait for 1 minute for initiation, then click on the Done button.

2. Set Up Open Session
- Go to the Open session (under the Session tab) in the Commands card and Click on the Execute button.
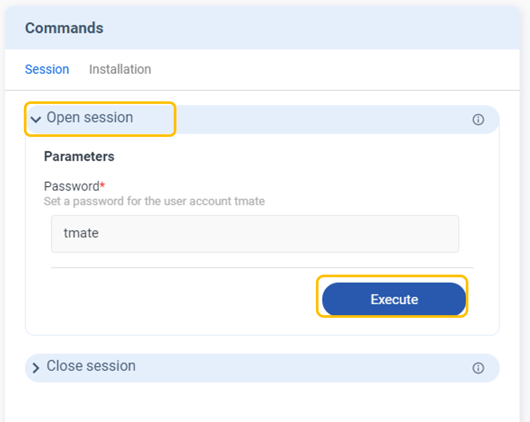
- Select devices to send command and click on the Execute button.
- A secure SSH session will be generated in 1~2 minutes after the session is opened. When the process is done, click on the Done button.

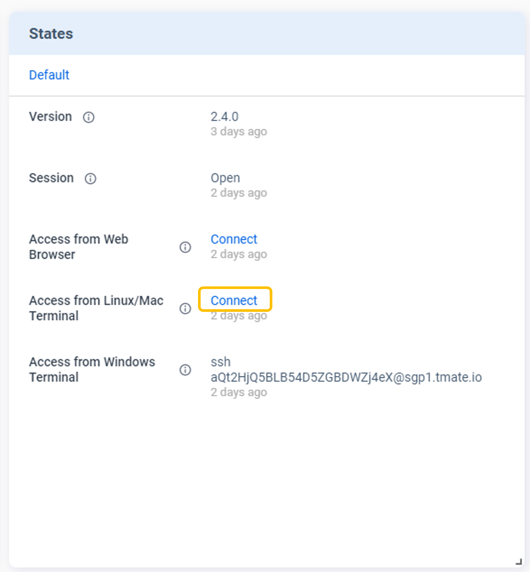
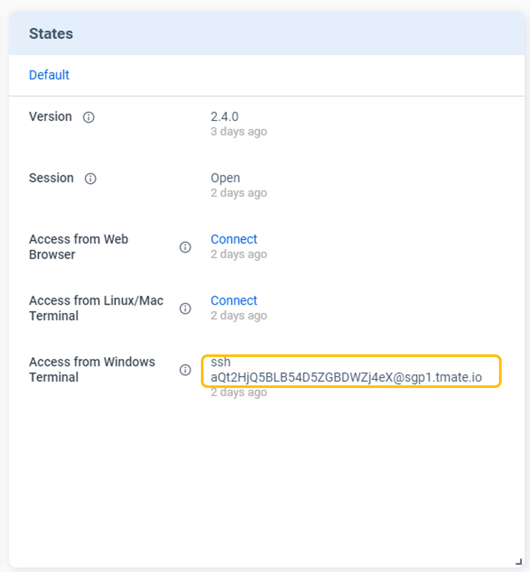
The Session status will be updated to “Open” in the States card.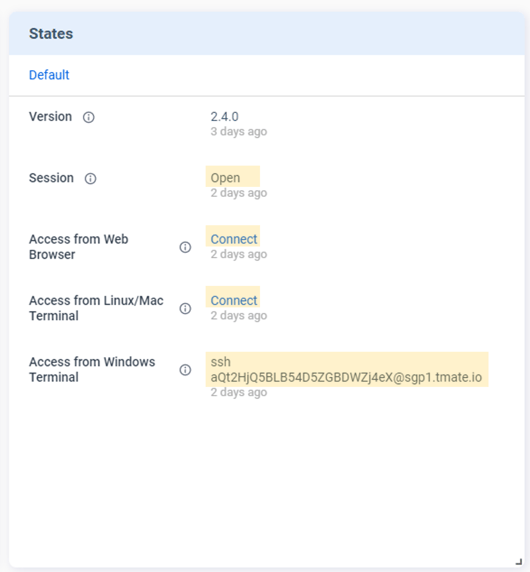
3. Connect to SSH Session Based on Your Client
- Access from Web Browser:
> Click on the Connect.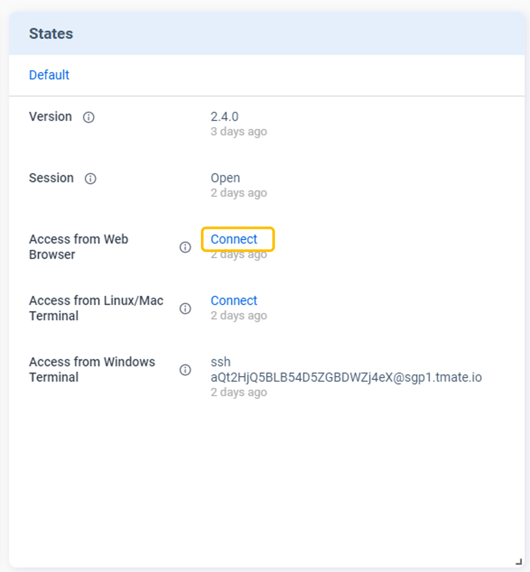
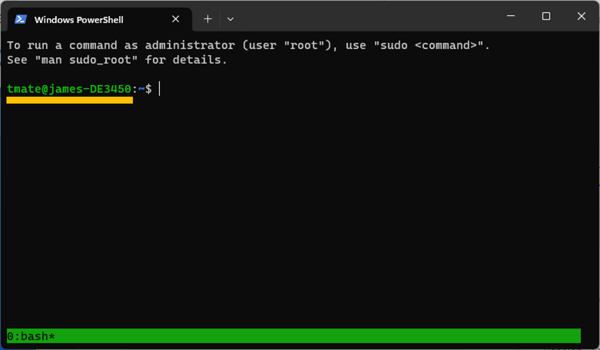
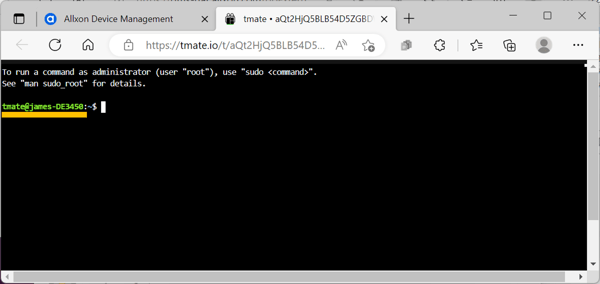
> A web session is connected.
> A web session is connected. (If it's your first time opening the session, the screen may appear black. Press Ctrl + C to bring the screen up.)
NOTE:
If the web session appears blank, try pressing <Ctrl + C> to continue the process.
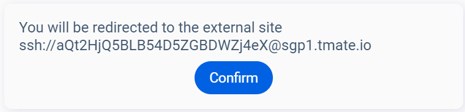
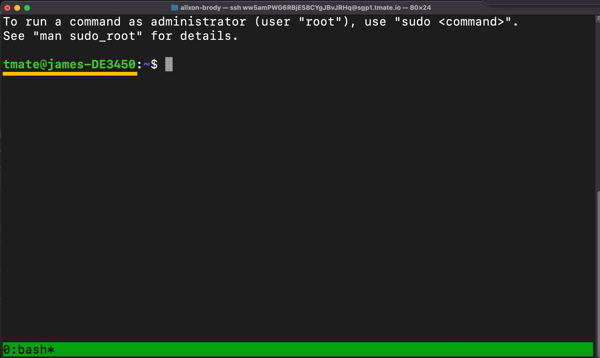
- Access from Linux/ Mac terminal:
> Click on the Connect