💡 Skip ahead to:
Introduction
Allxon offers comprehensive remote Fleet Management services. If you only need to use the Allxon swiftDR (Out-Of-Band) solution, you can integrate various forms of OOB Enabler into the Allxon Portal through the following methods. Once successful, you can start using the relevant features of Allxon swiftDR.
Step 1: Add Standalone OOB Enabler
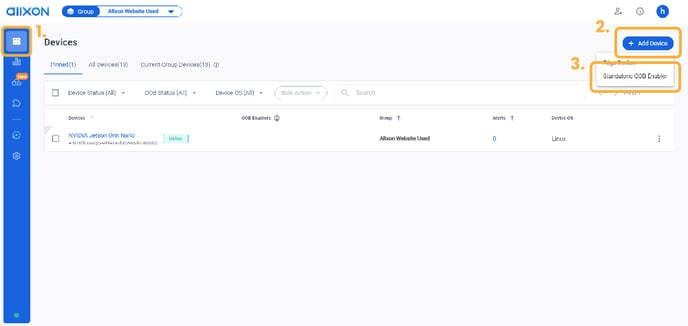
- Log into Allxon Portal
 and click on the Device List Page icon on the left navigation pane to enter the Device List Page.
 - Click on the "+ Add Device" button on the top right.
- Select the Standalone OOB Enabler to add your OOB Enabler onto Allxon Portal.
Step 2: Key in Serial Number and PIN Code
-
Fill in the Serial Number and PIN Code of the OOB Enabler you want to add to Allxon Portal.
- After fill in the serial number and PIN code, click the "Add" button to start to add OOB Enabler.
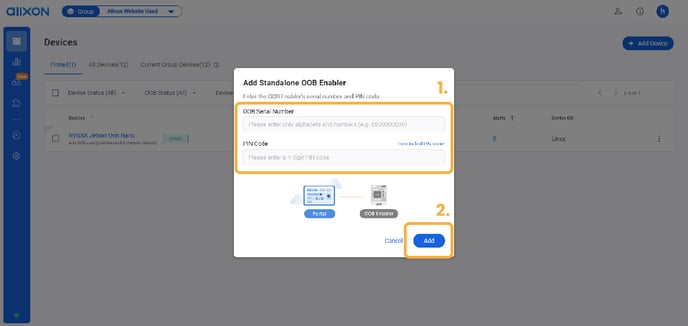
💡 Note: The sticker containing the serial number and PIN code of the OOB Enabler should be located on the OOB Enabler or the device casing. If you cannot find the sticker, please contact your hardware supplier or Allxon for assistance.
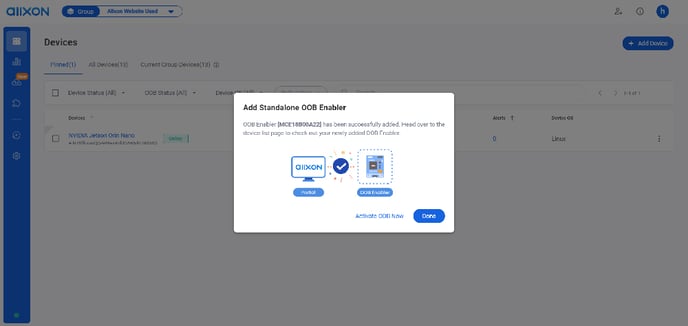
Once the process of adding a standalone OOB Enabler is complete, you will see a successful pop-up window. At this point, you can either directly activate your OOB Enabler or click the "Done" button to complete the process of adding a standalone OOB Enabler.
Step 3: Start to Use Standalone OOB Enabler
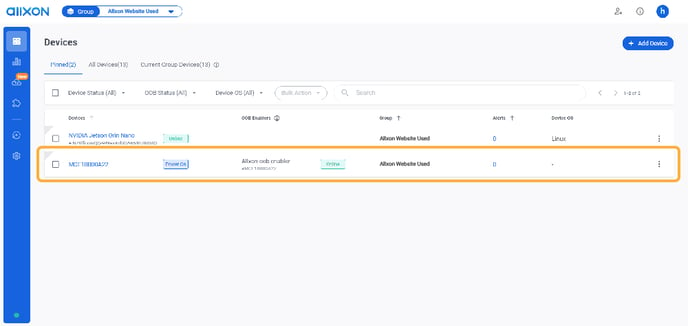
Once the addition of the standalone OOB Enabler is complete, you will be able to see the newly added OOB Enabler on the device list page.