Introduction
Allxon has integrated instant messaging channels and Webhook settings to keep you notified quicker with alert messages.
-
- Line (LINE Notify EOL Begins April 1, 2025):
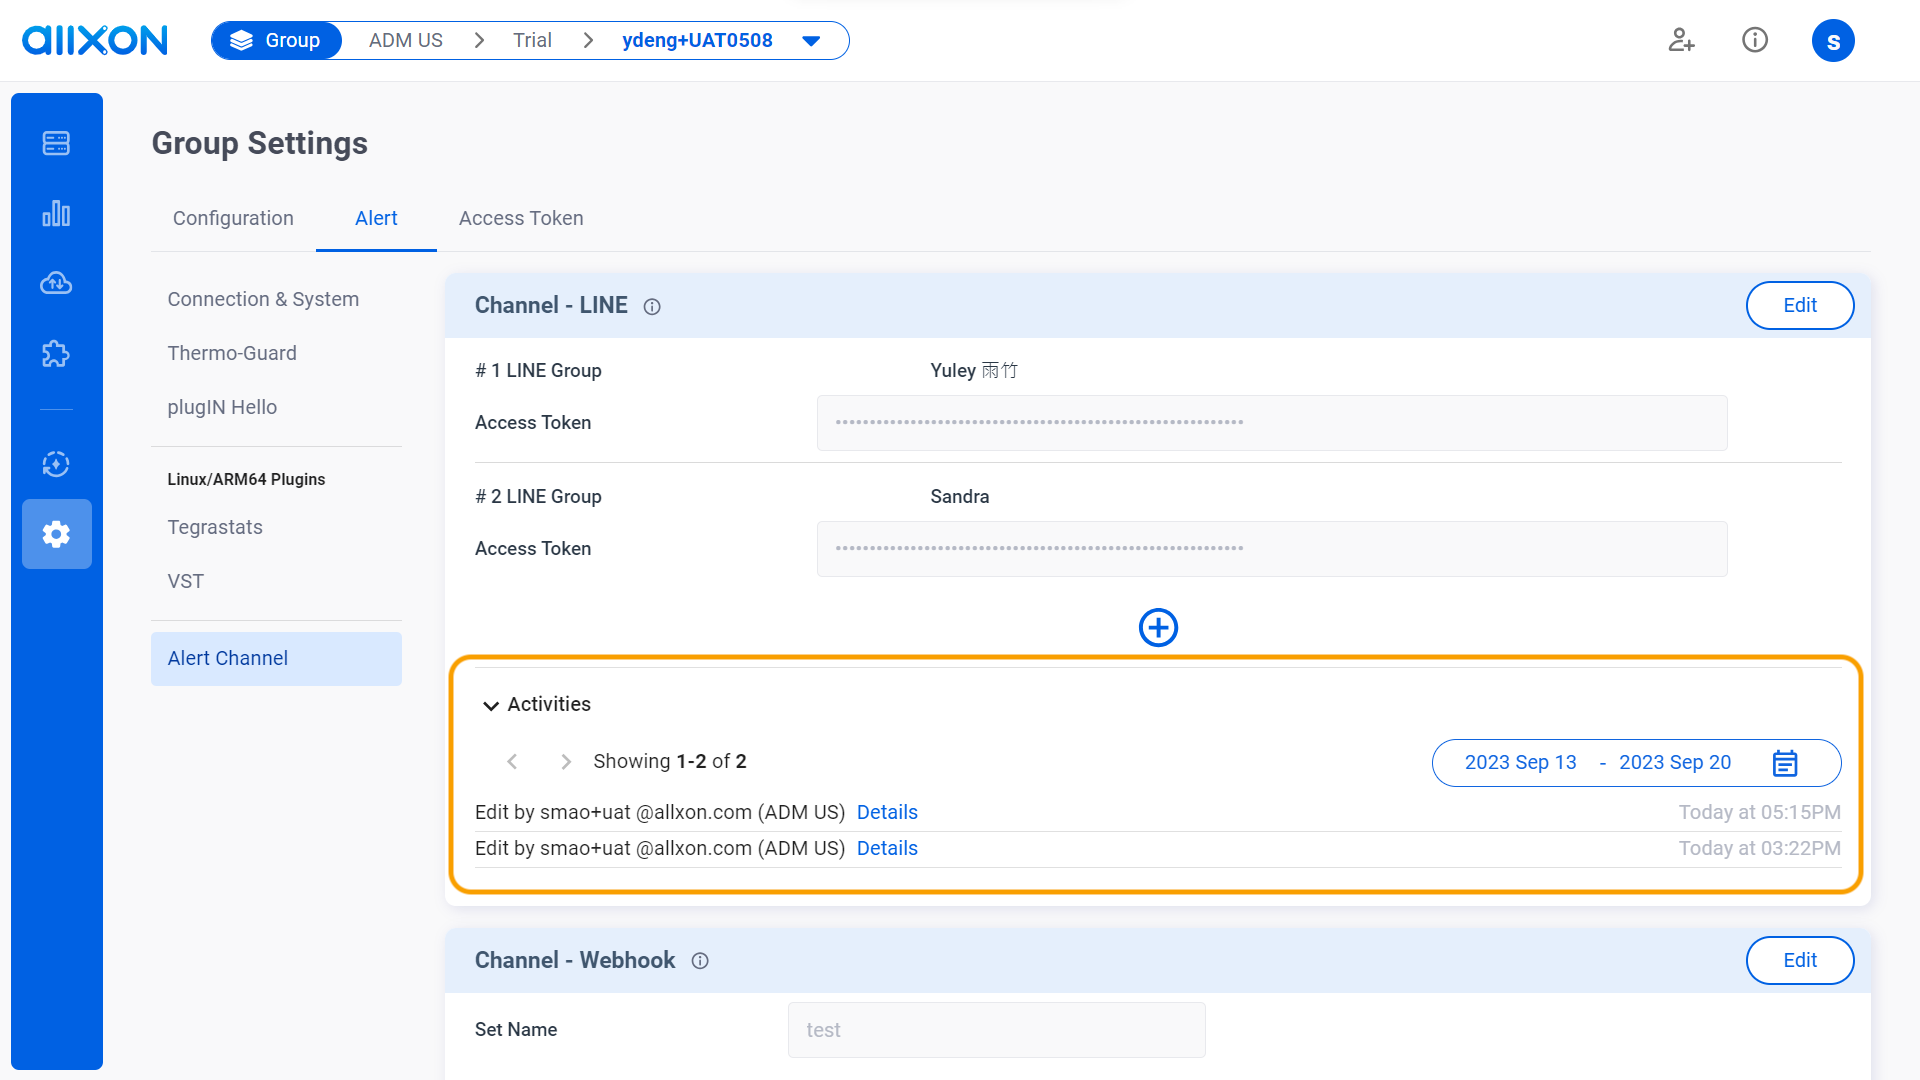
- Navigate to the Alert Tab, select the Channel-LINE card, and click on the Edit button.

- Click on the + button to add your first Line channel.
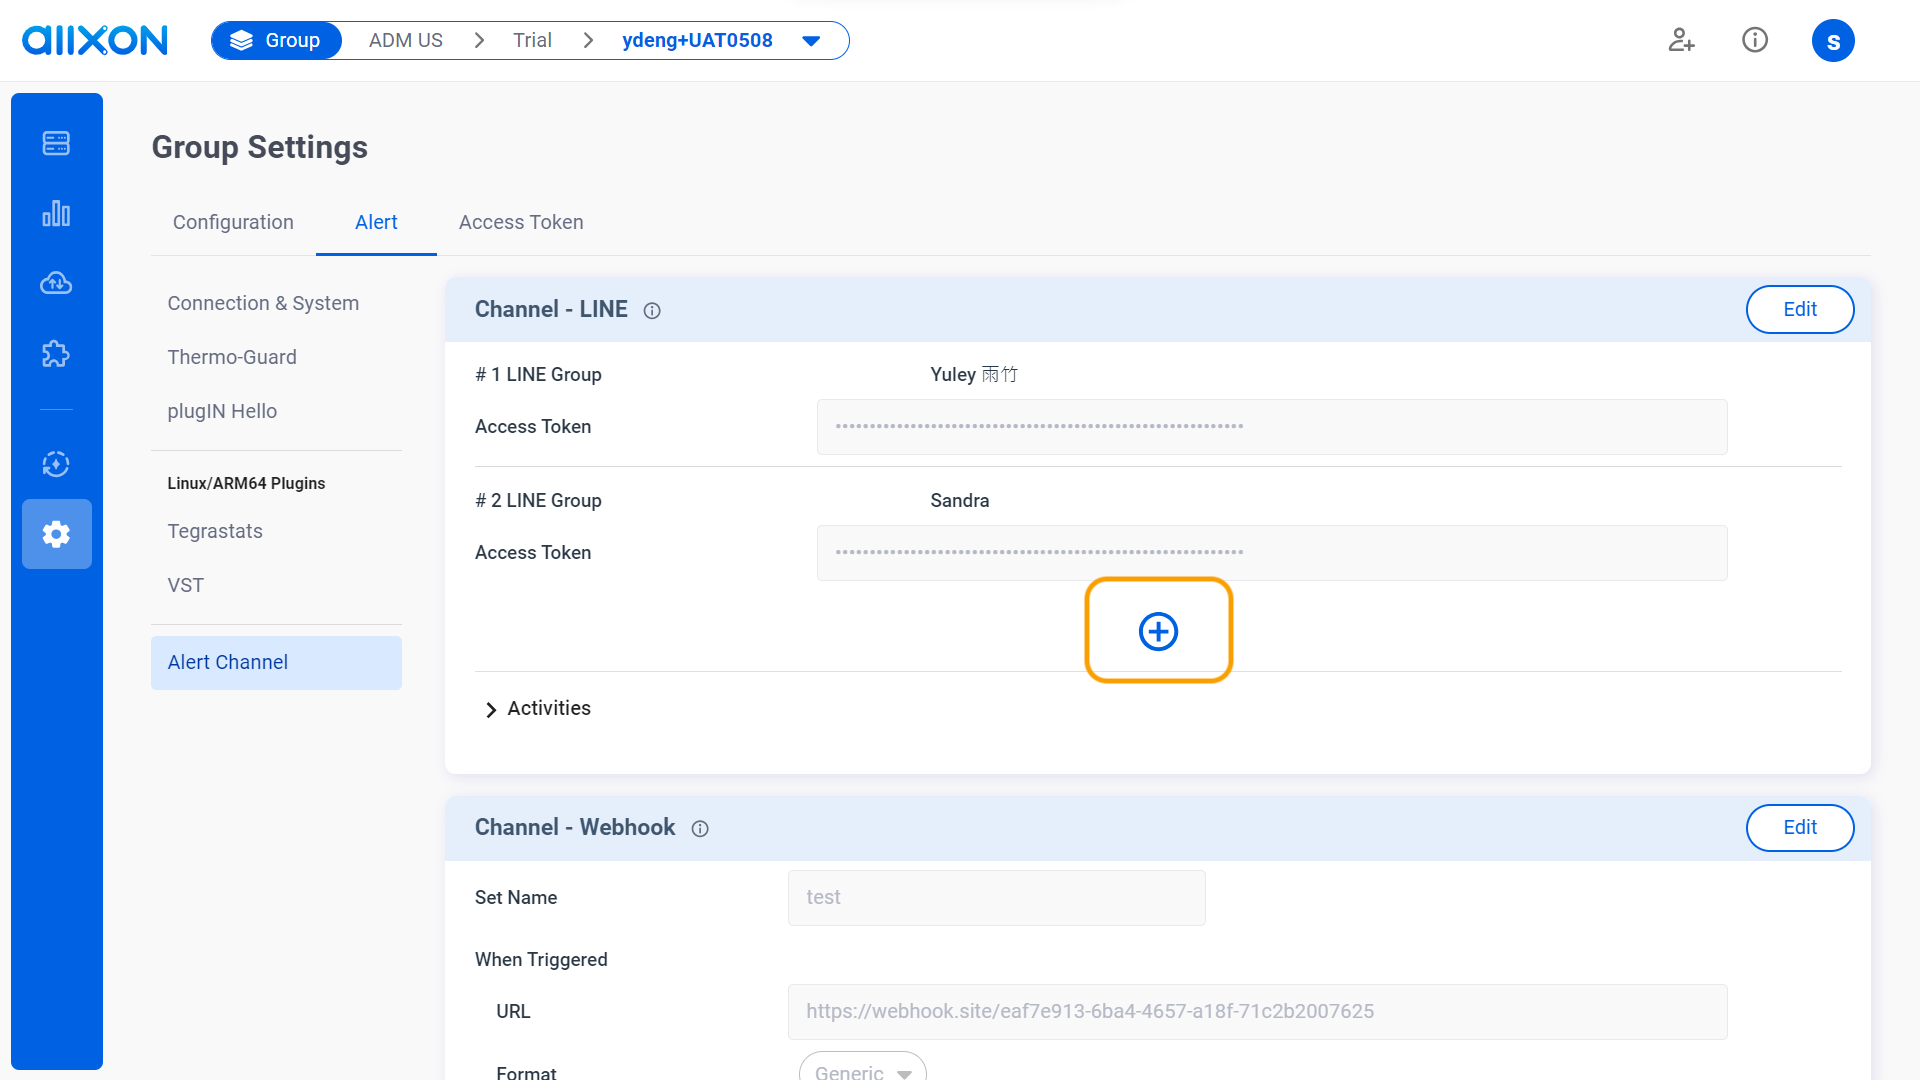
- Enter the access token generated in LINE.
> Learn how to retrieve a LINE notification token and complete set up here.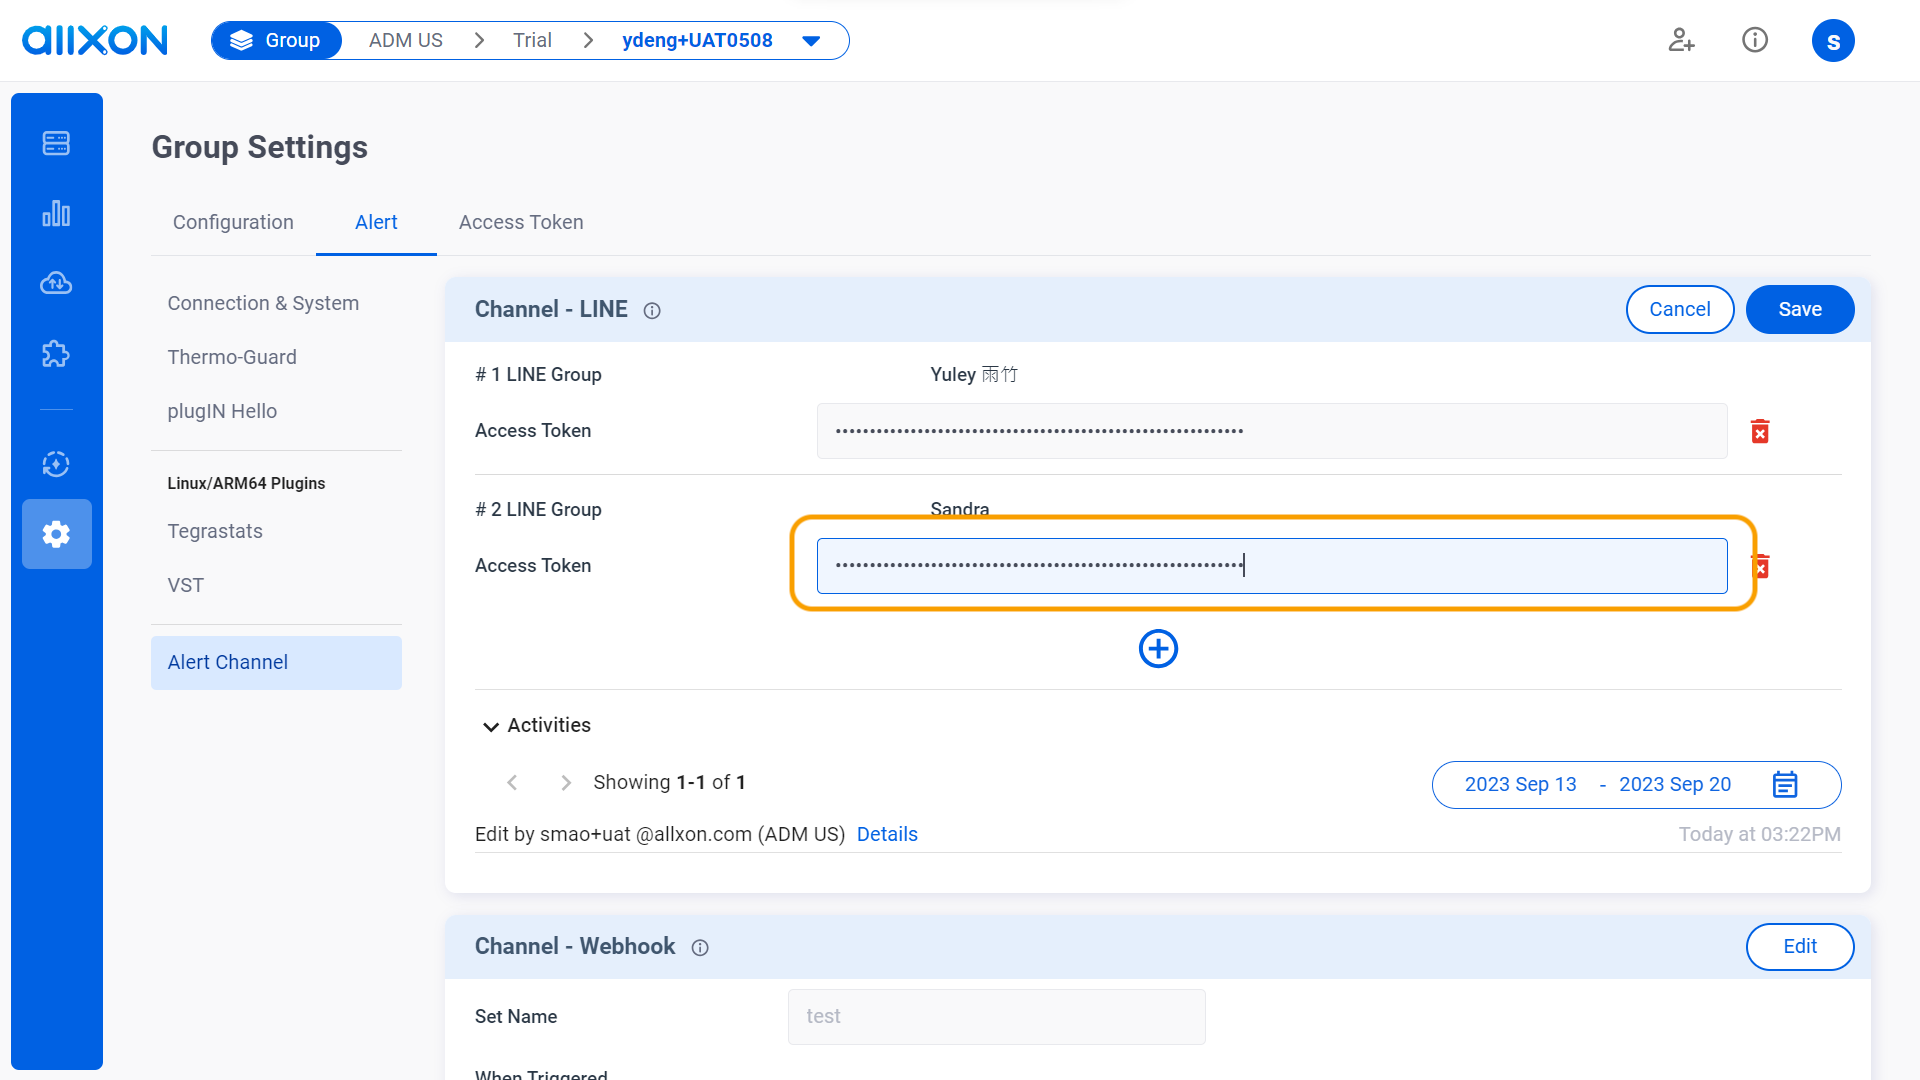
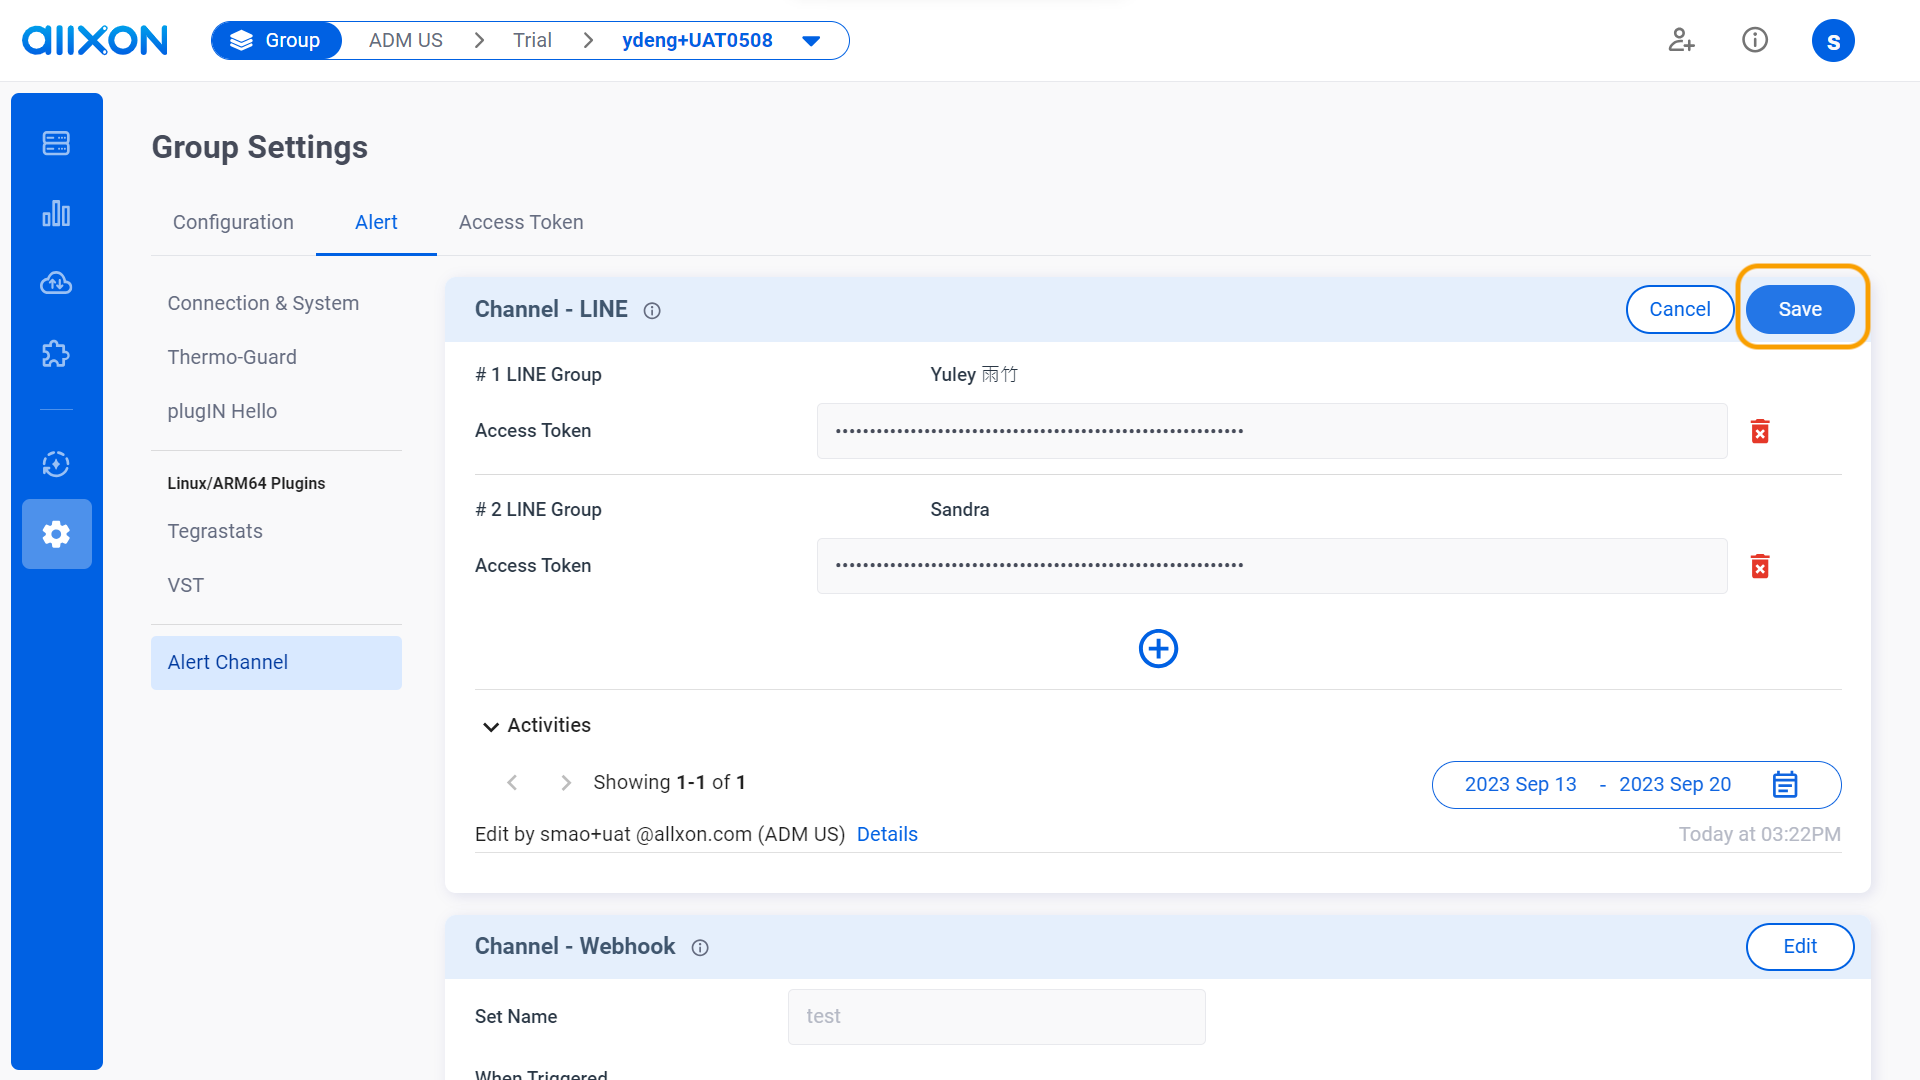
- Click on the Save button to save all changes made.
- Navigate to the Alert Tab, select the Channel-LINE card, and click on the Edit button.
- Webhook:
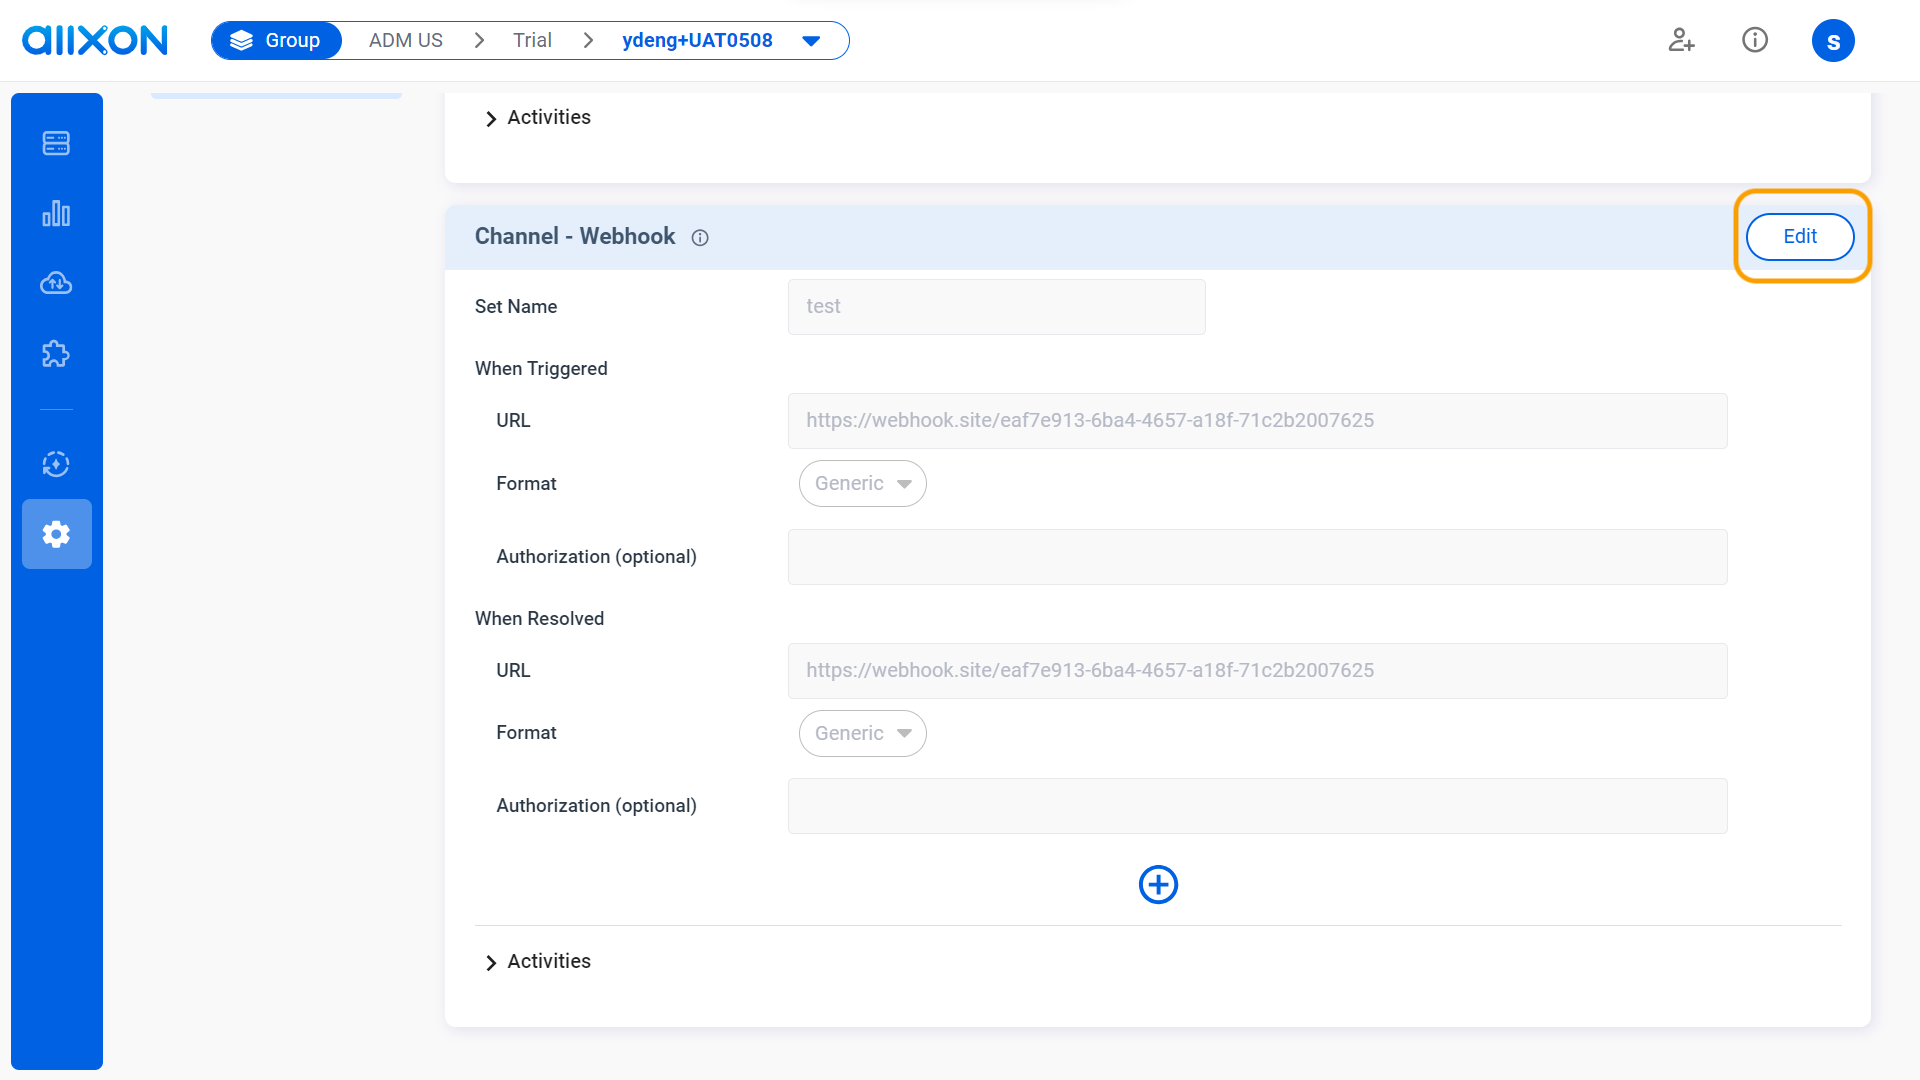
- Navigate to the Alert Tab, select the Channel-Webhook card, and click on the Edit button.
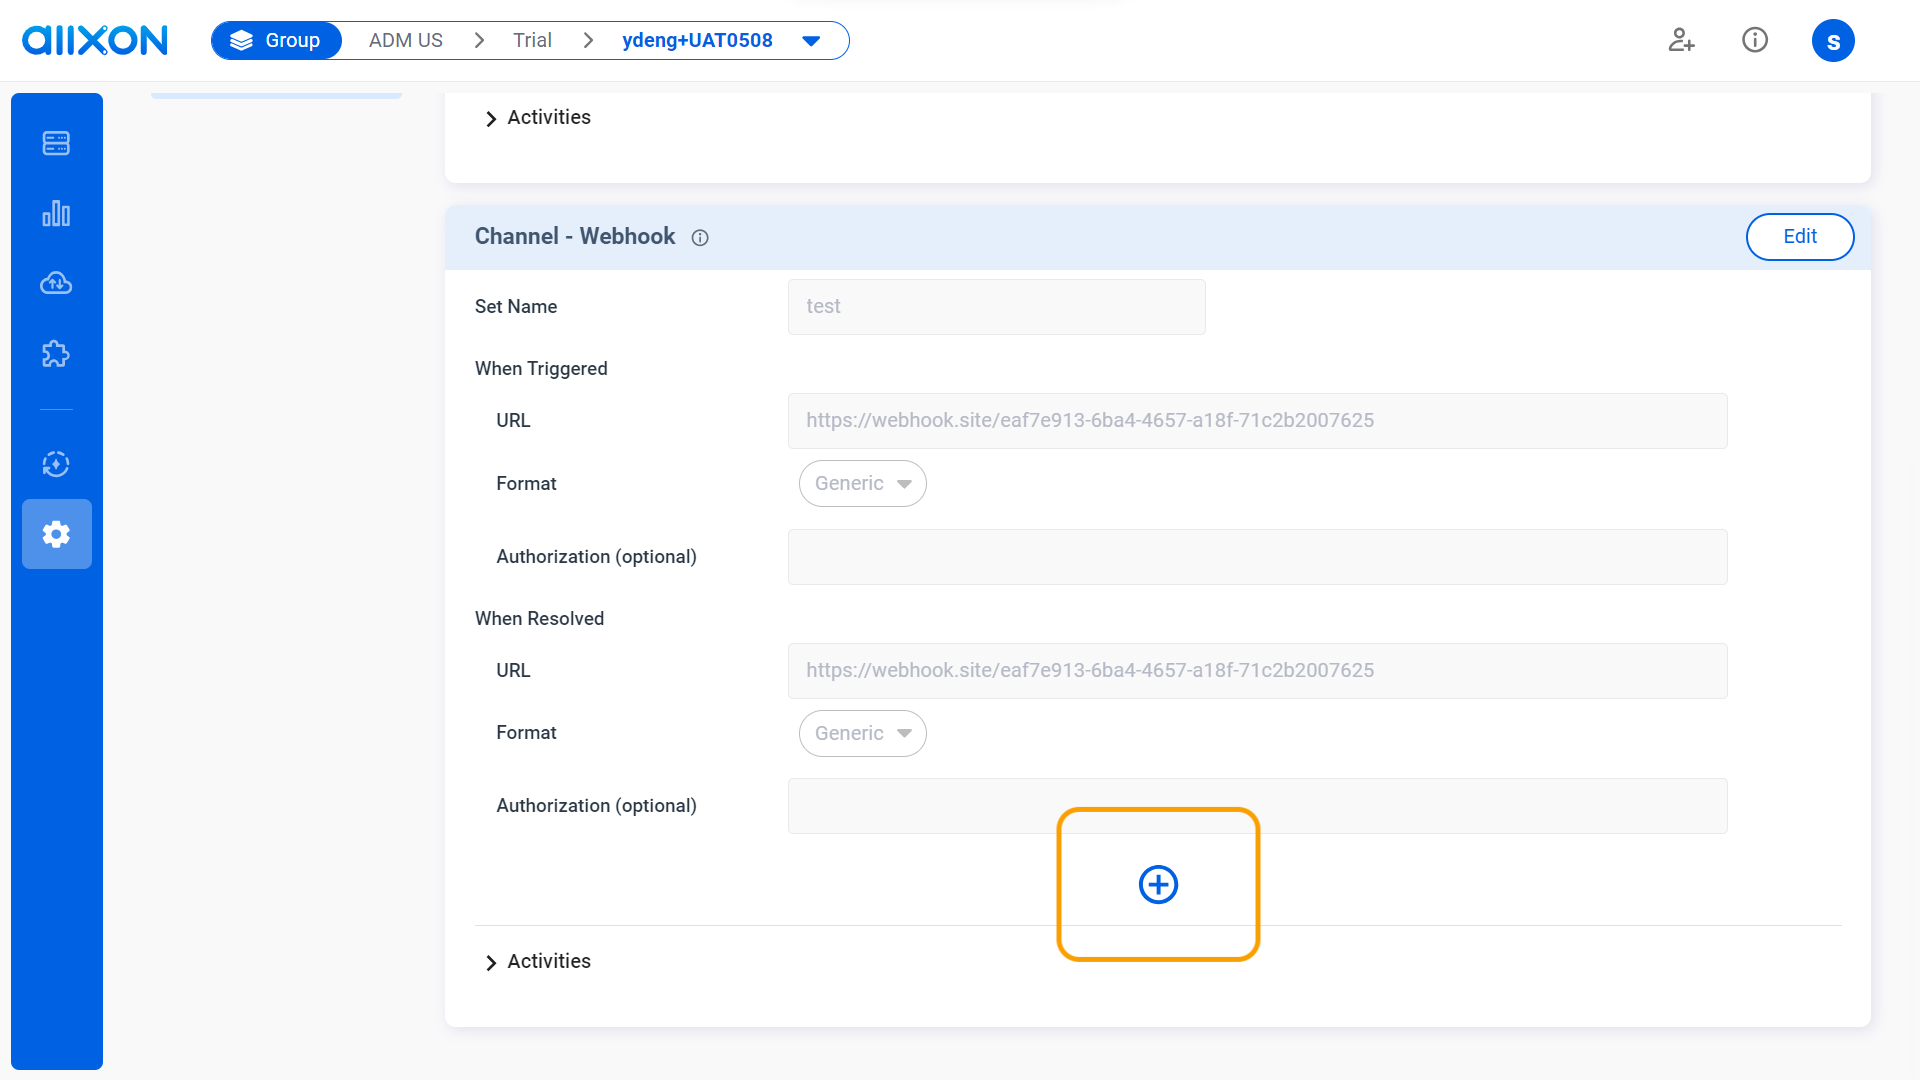
- Click on the + button to add your first Webhook channel.
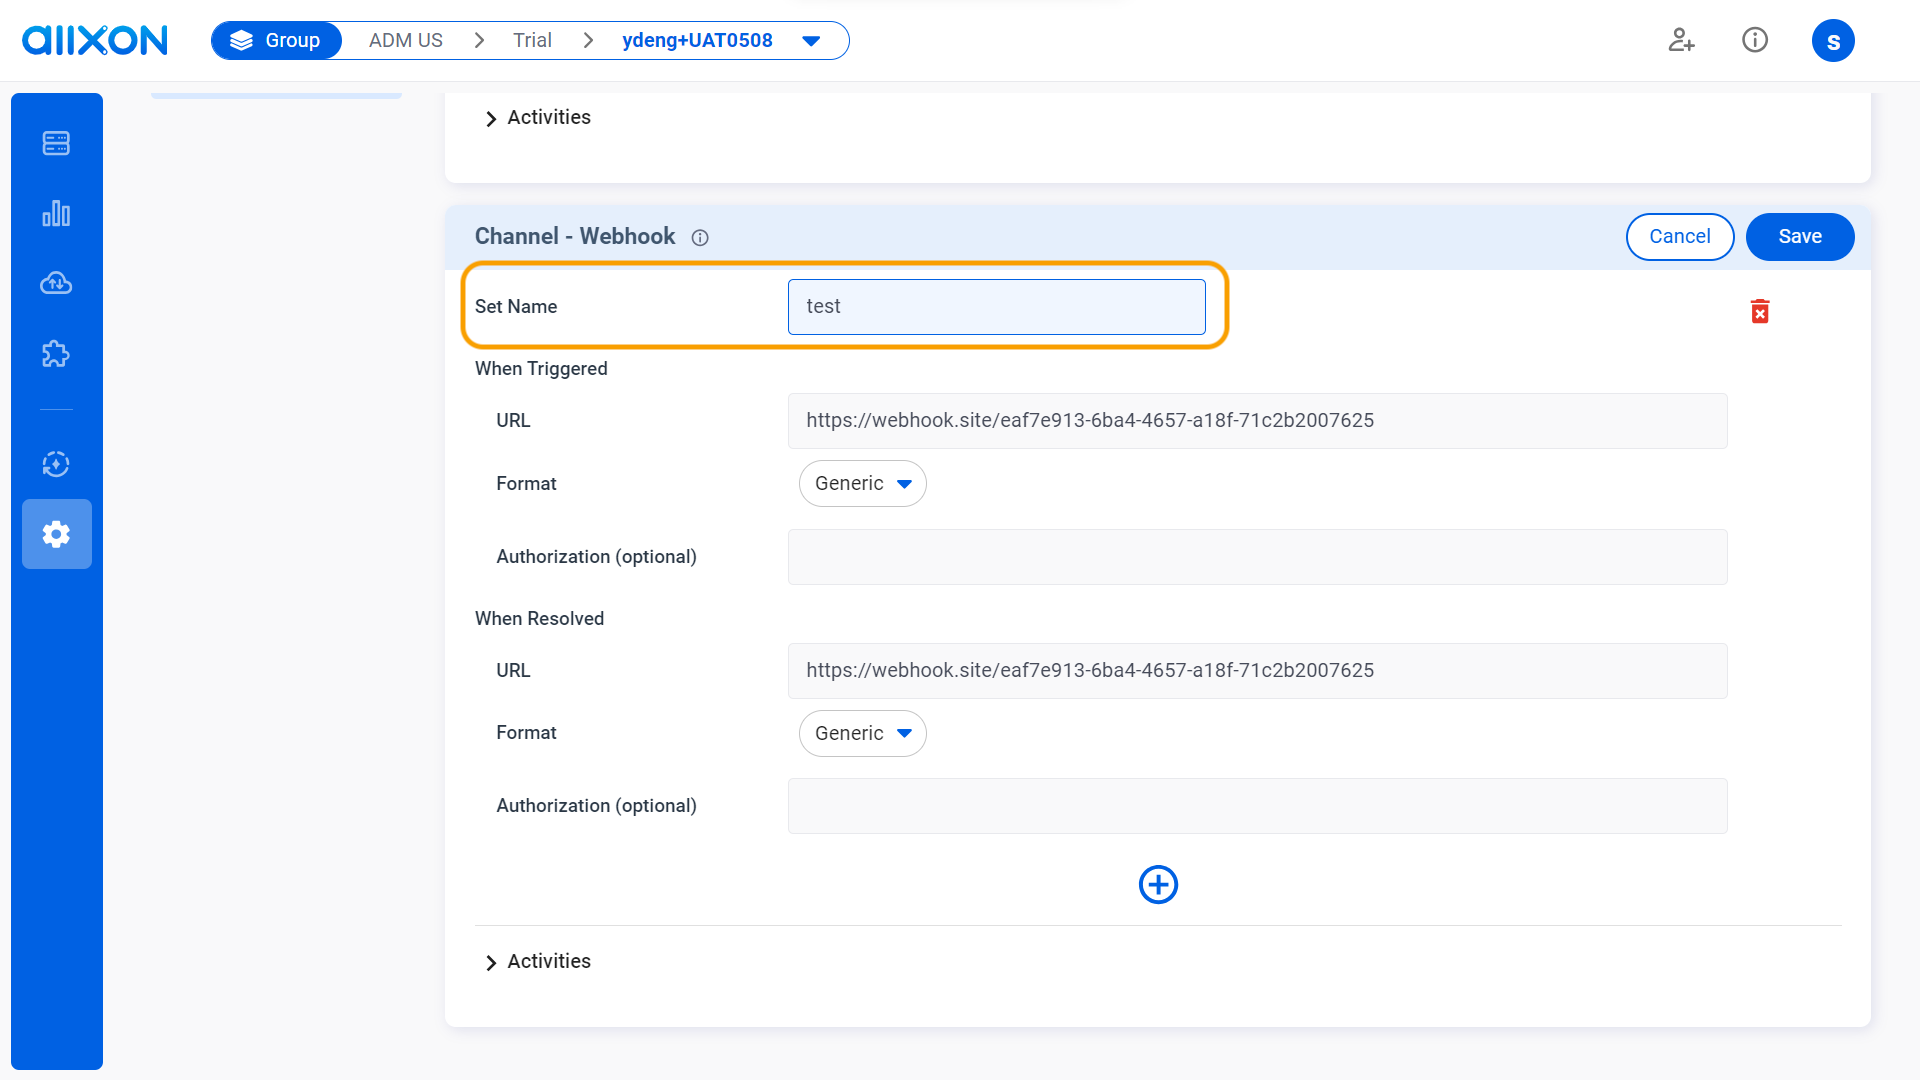
- Enter a unique set name.
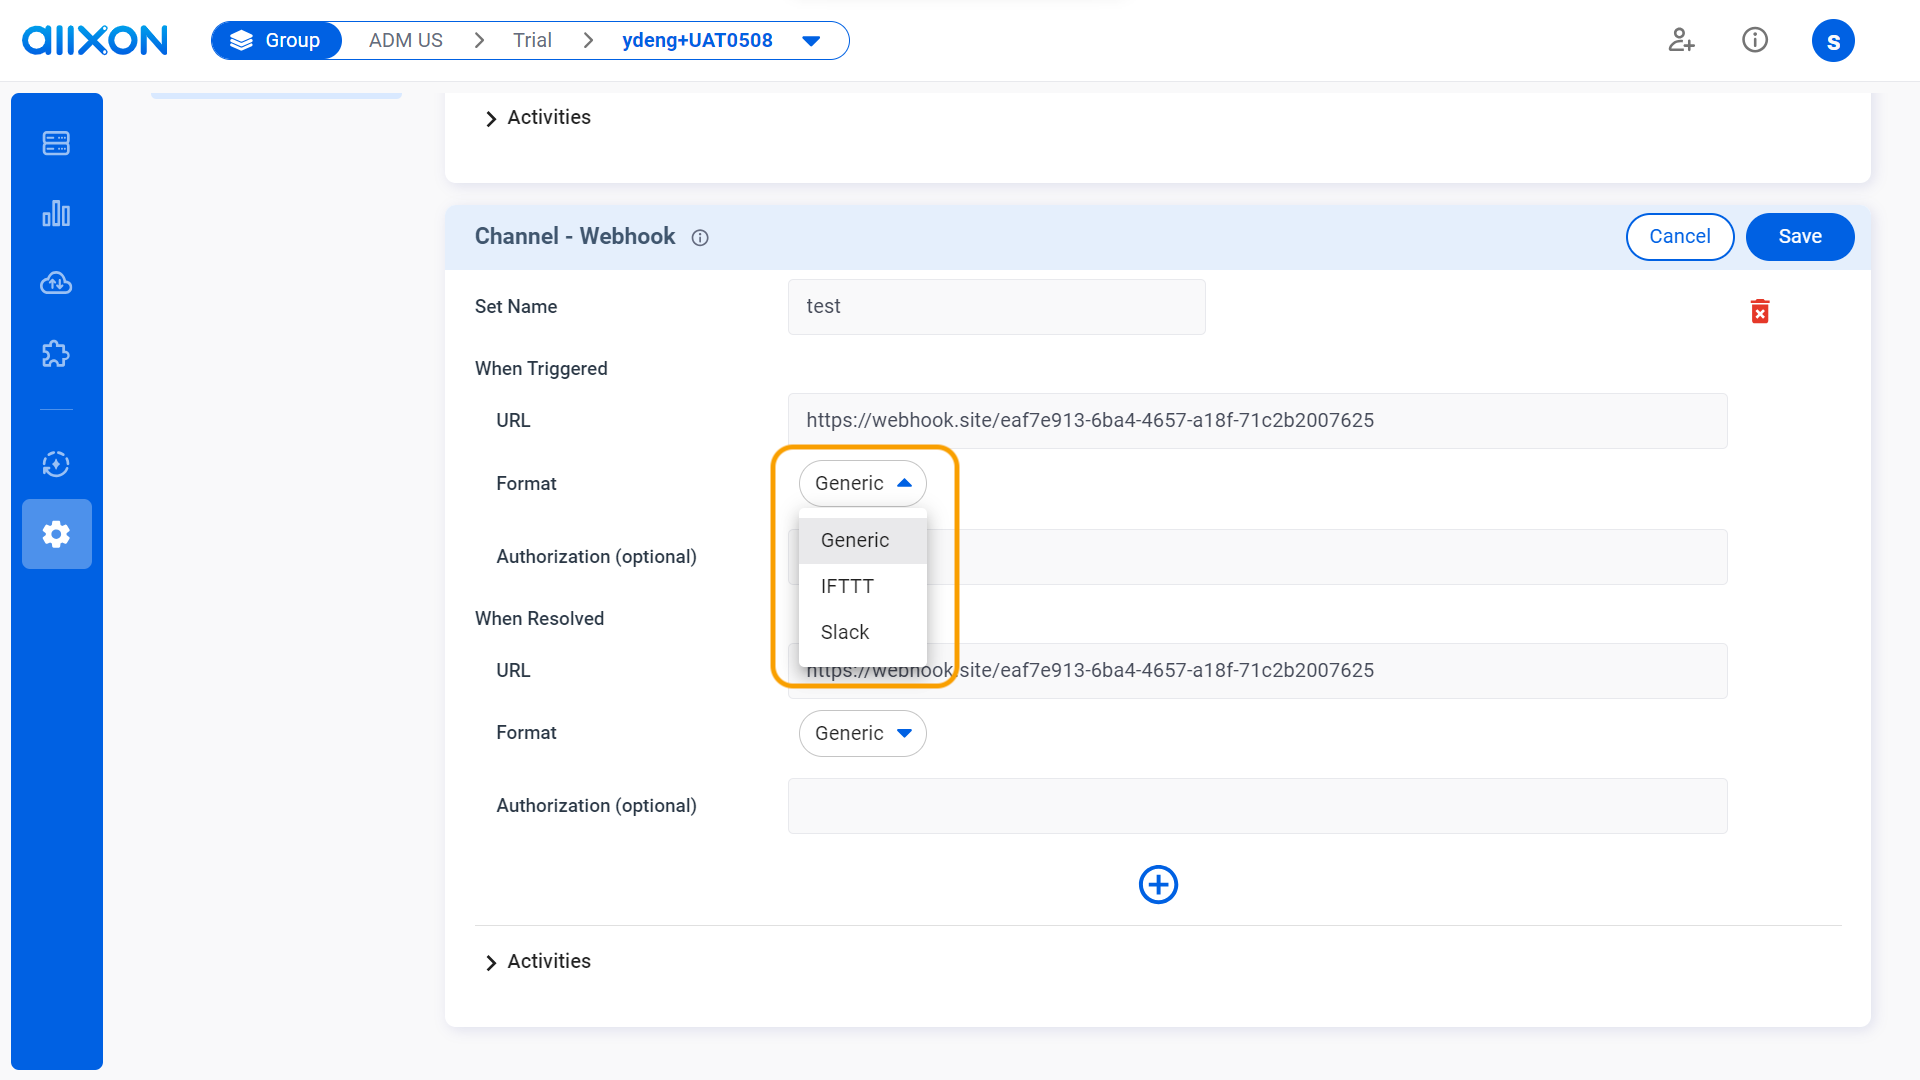
- When Triggered:
Head over to the Webhook site and copy Your unique URL. Next, enter the URL of your Webhook Service in the triggered URL column, and choose the desired format from the dropdown menu. You may also enter the Authorization (optional) if required.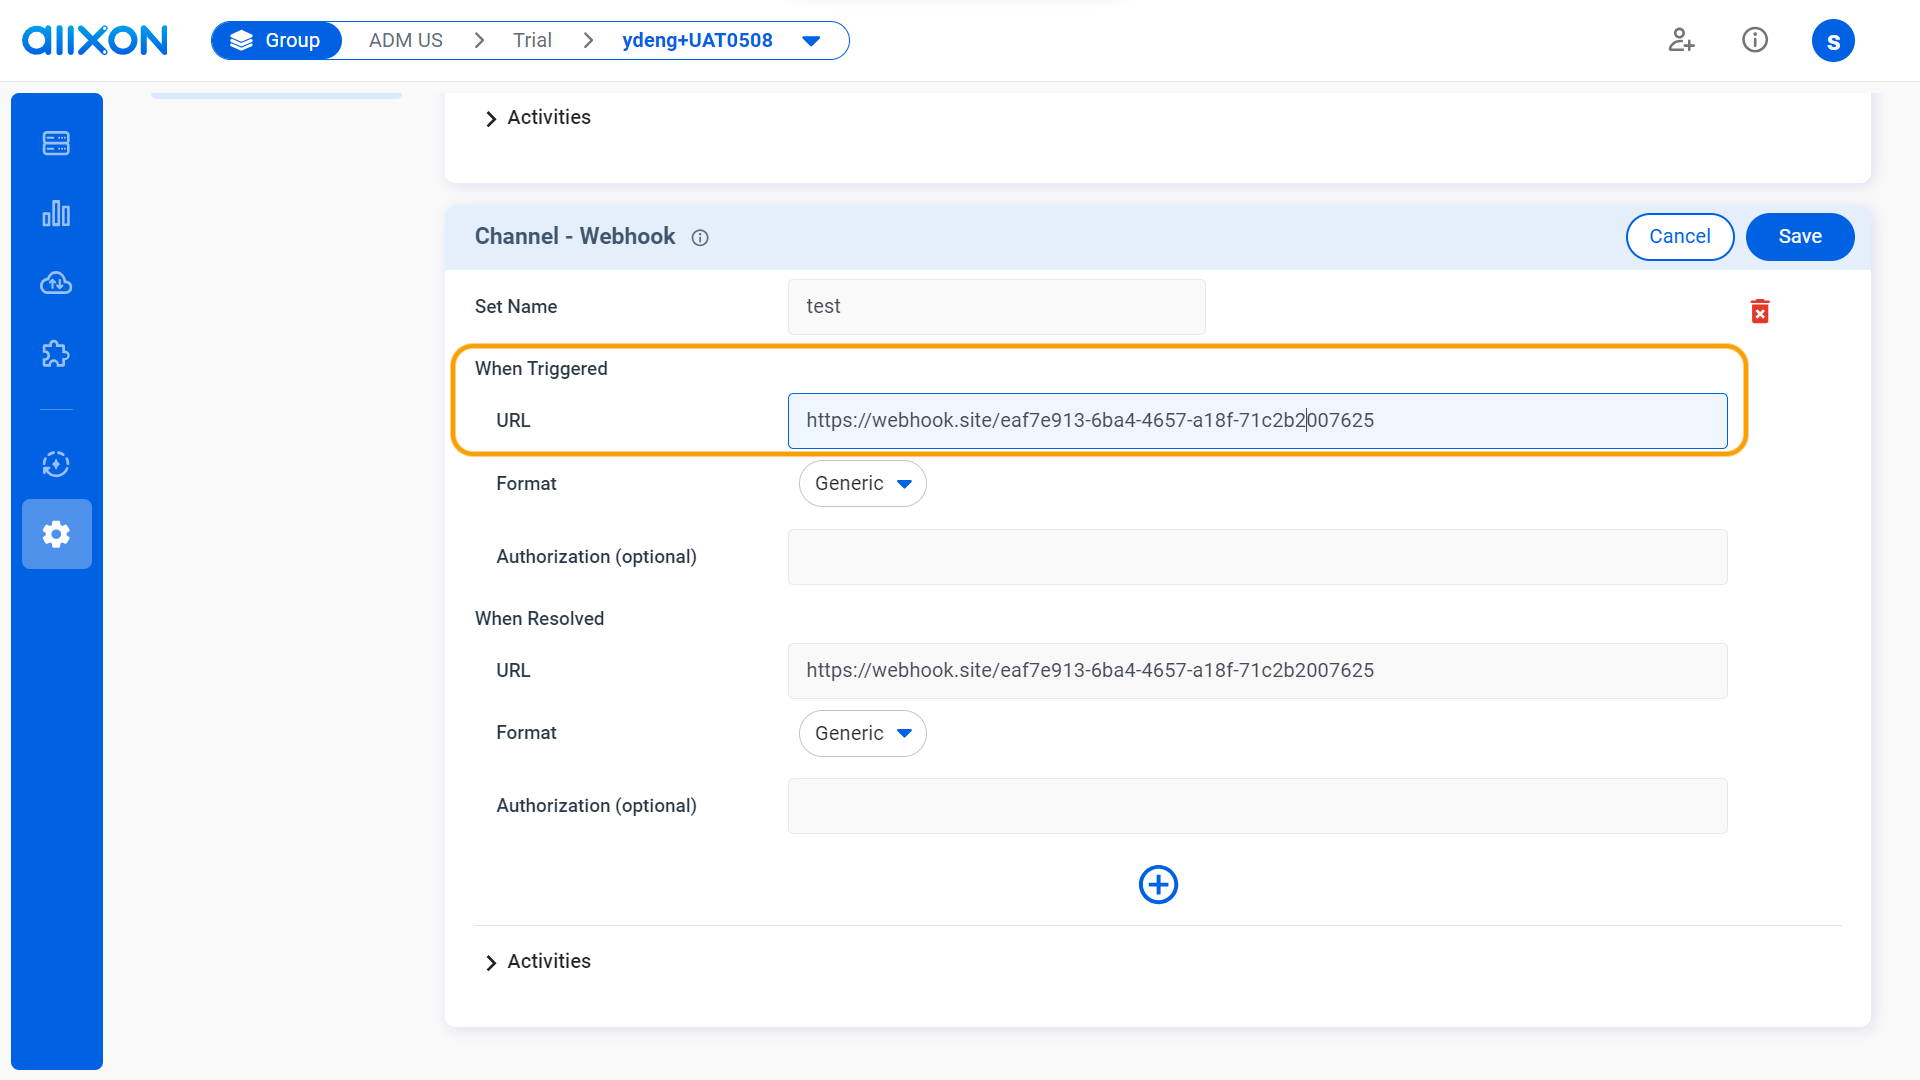
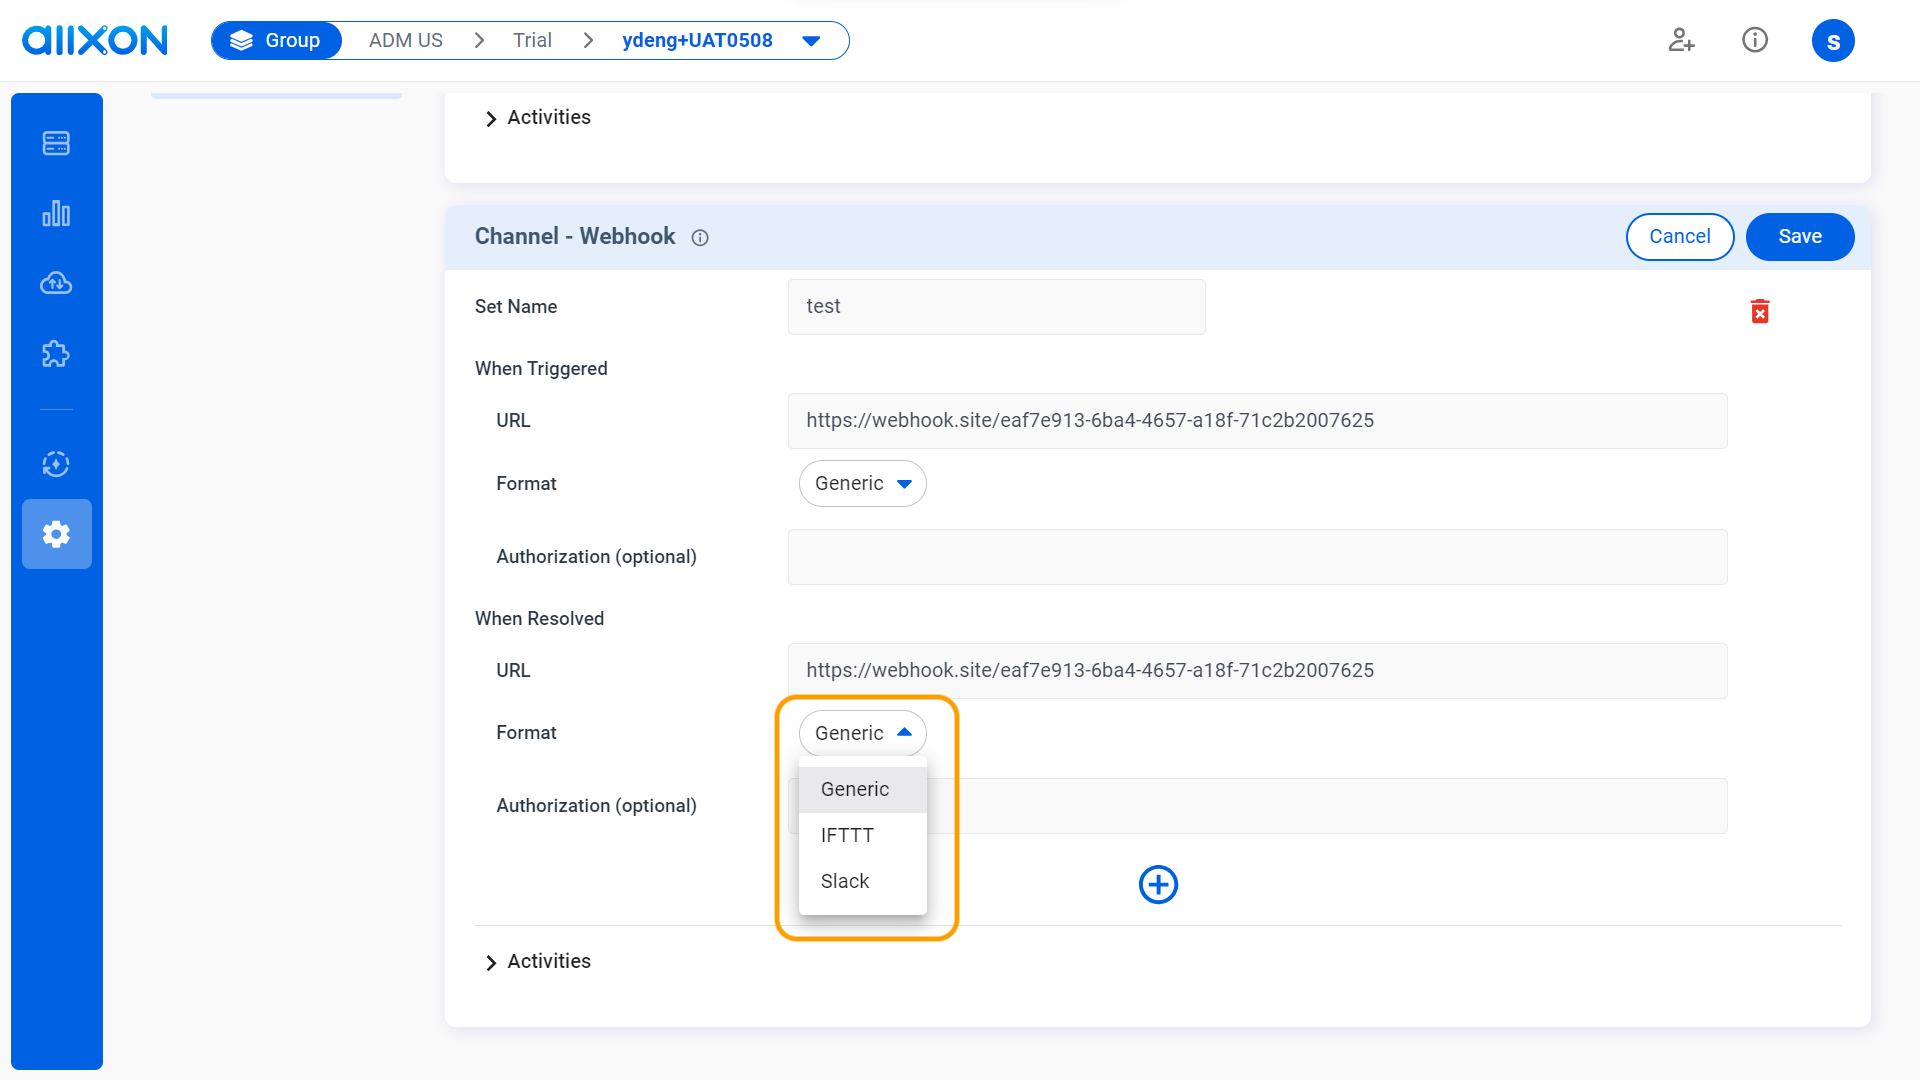
- When Resolved:
Paste the same Webhook URL into the URL column, and choose the desired format from the dropdown menu. You may also enter the Authorization (optional) if required.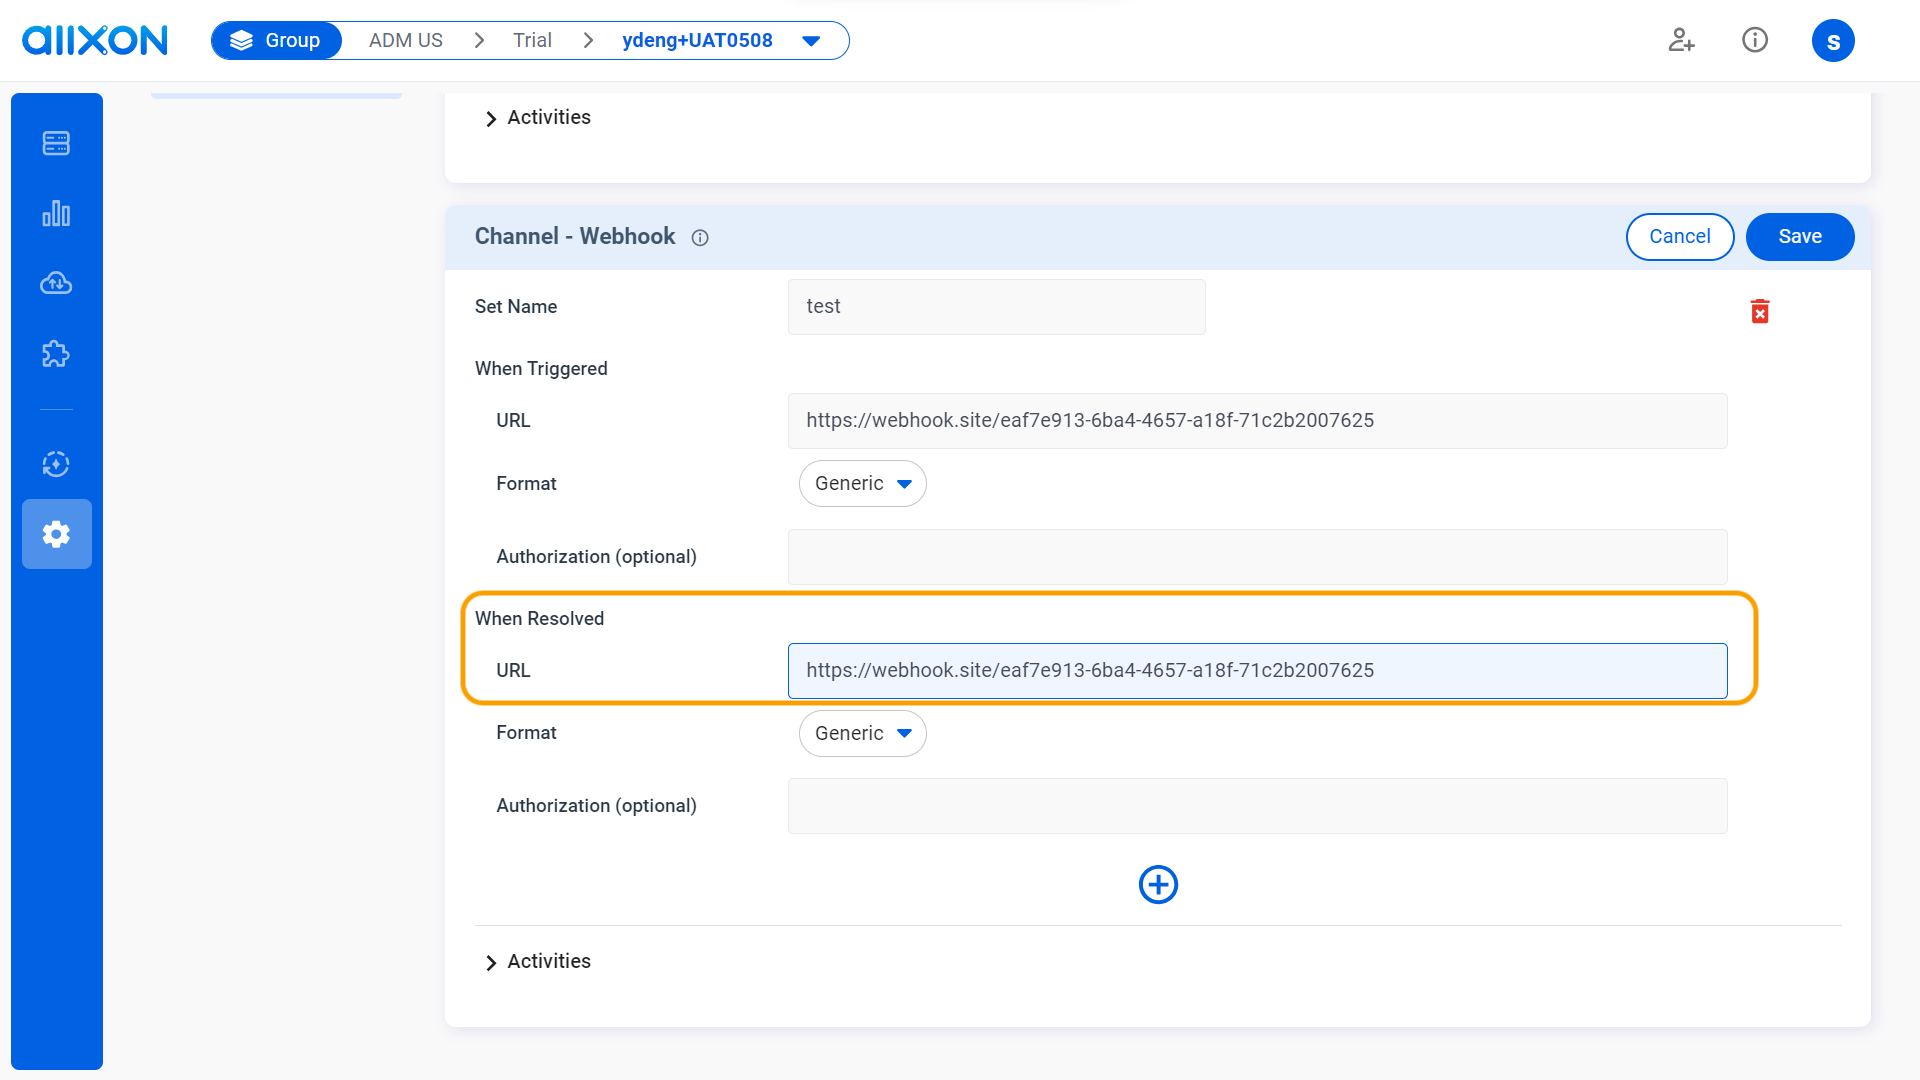
- When Triggered:
- Click on the Save button to save all changes made.
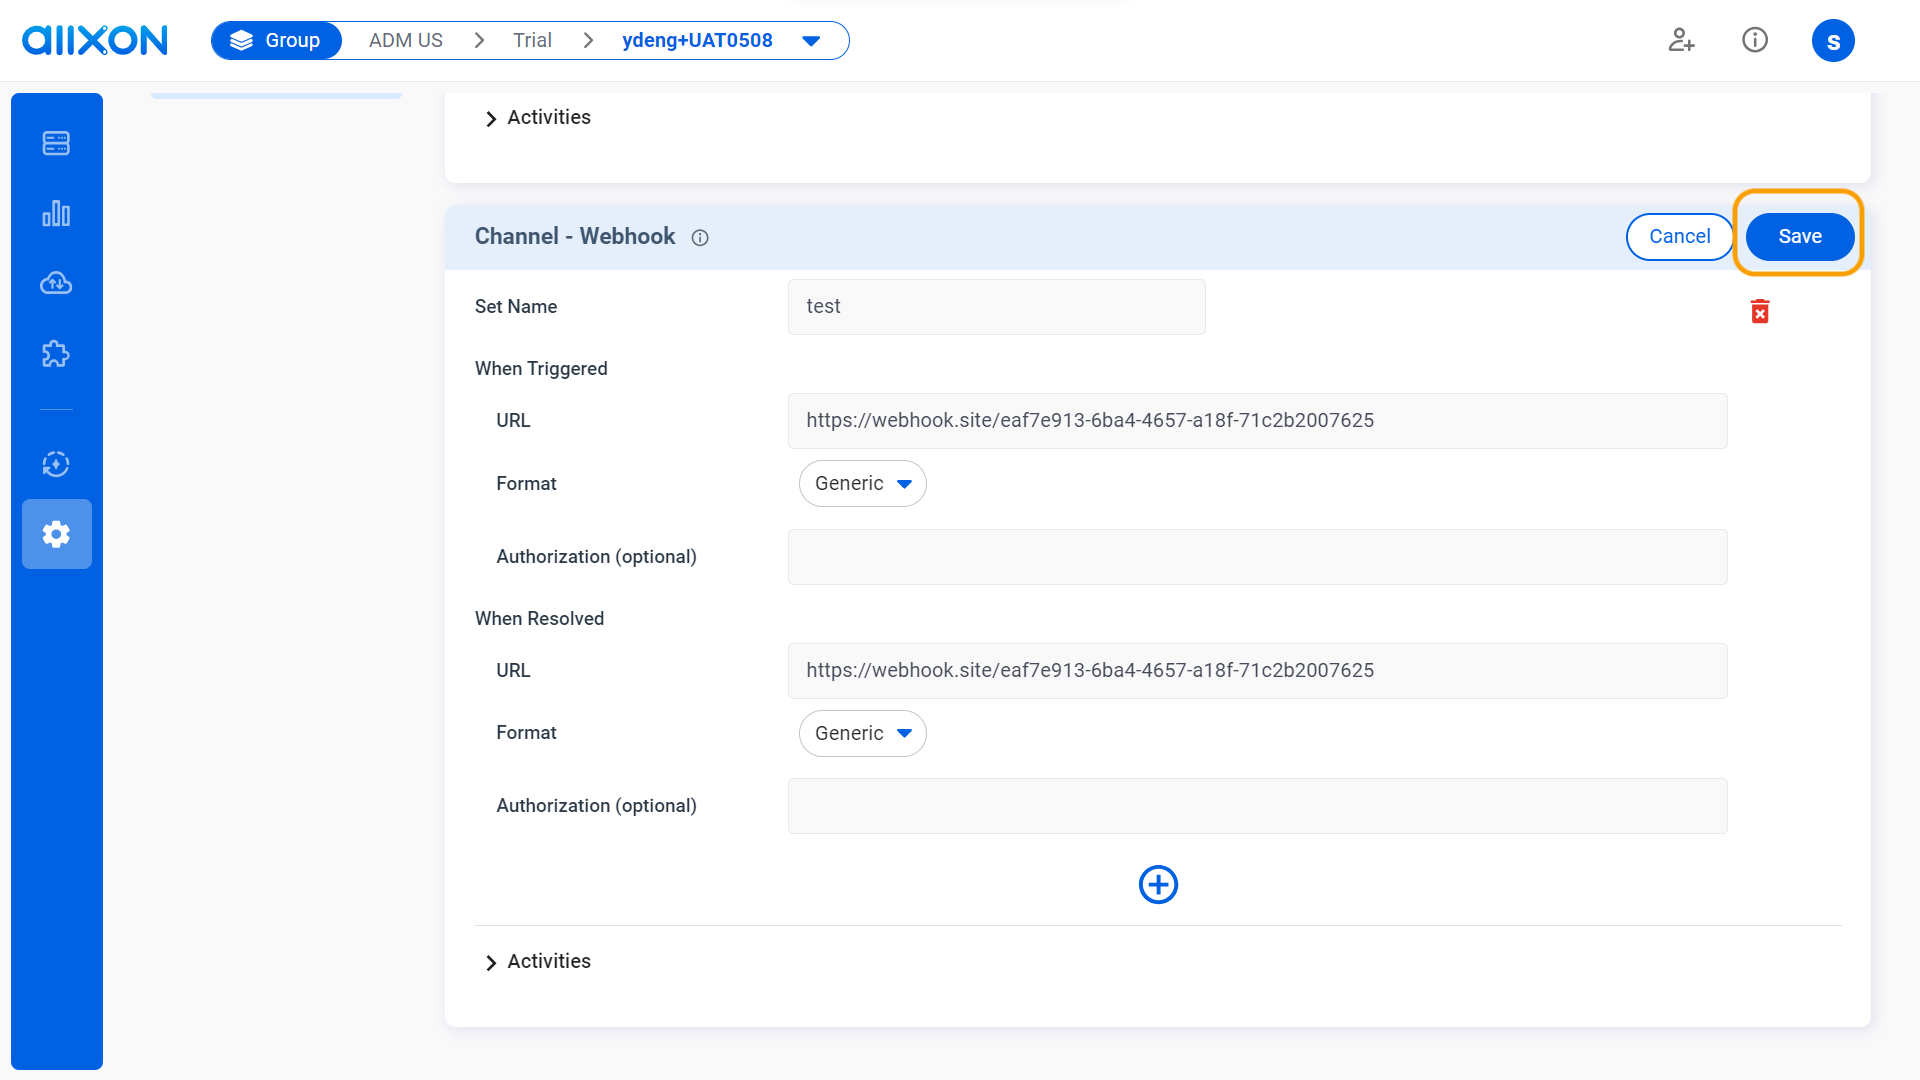
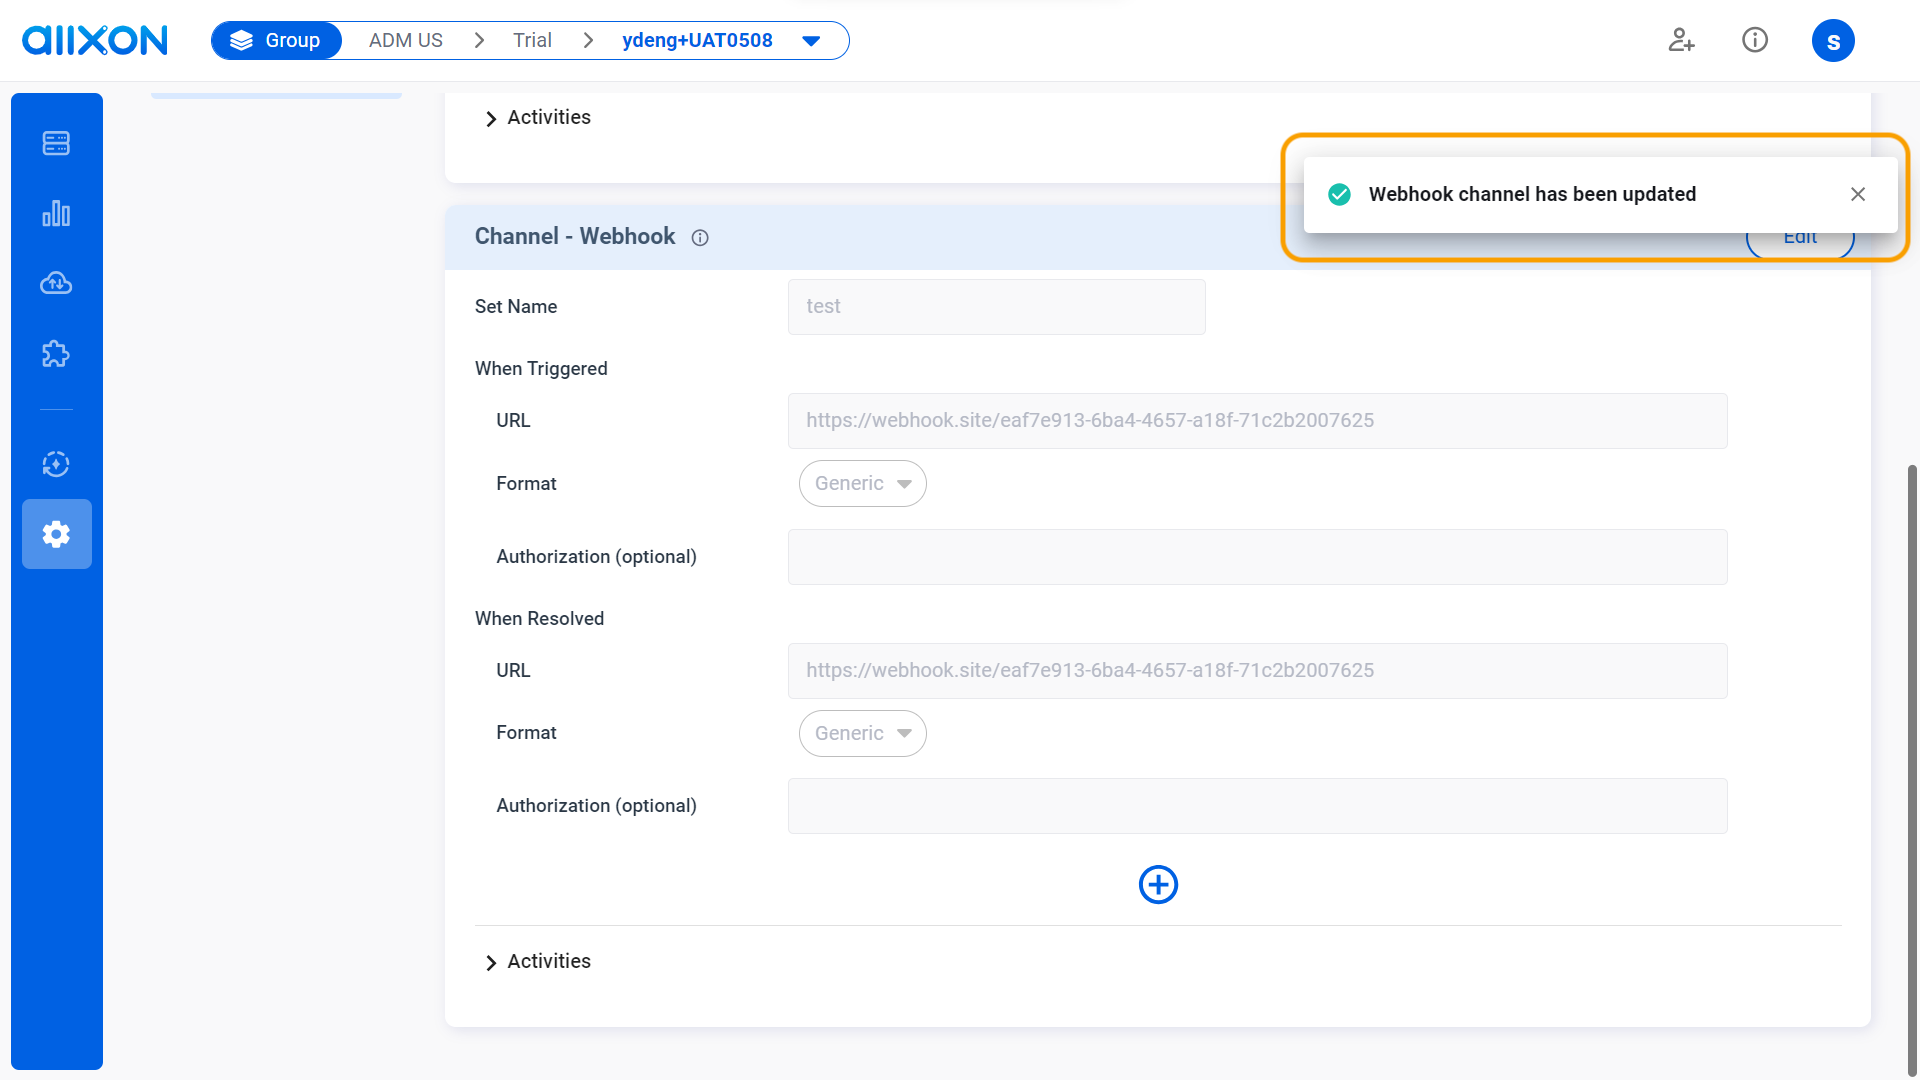
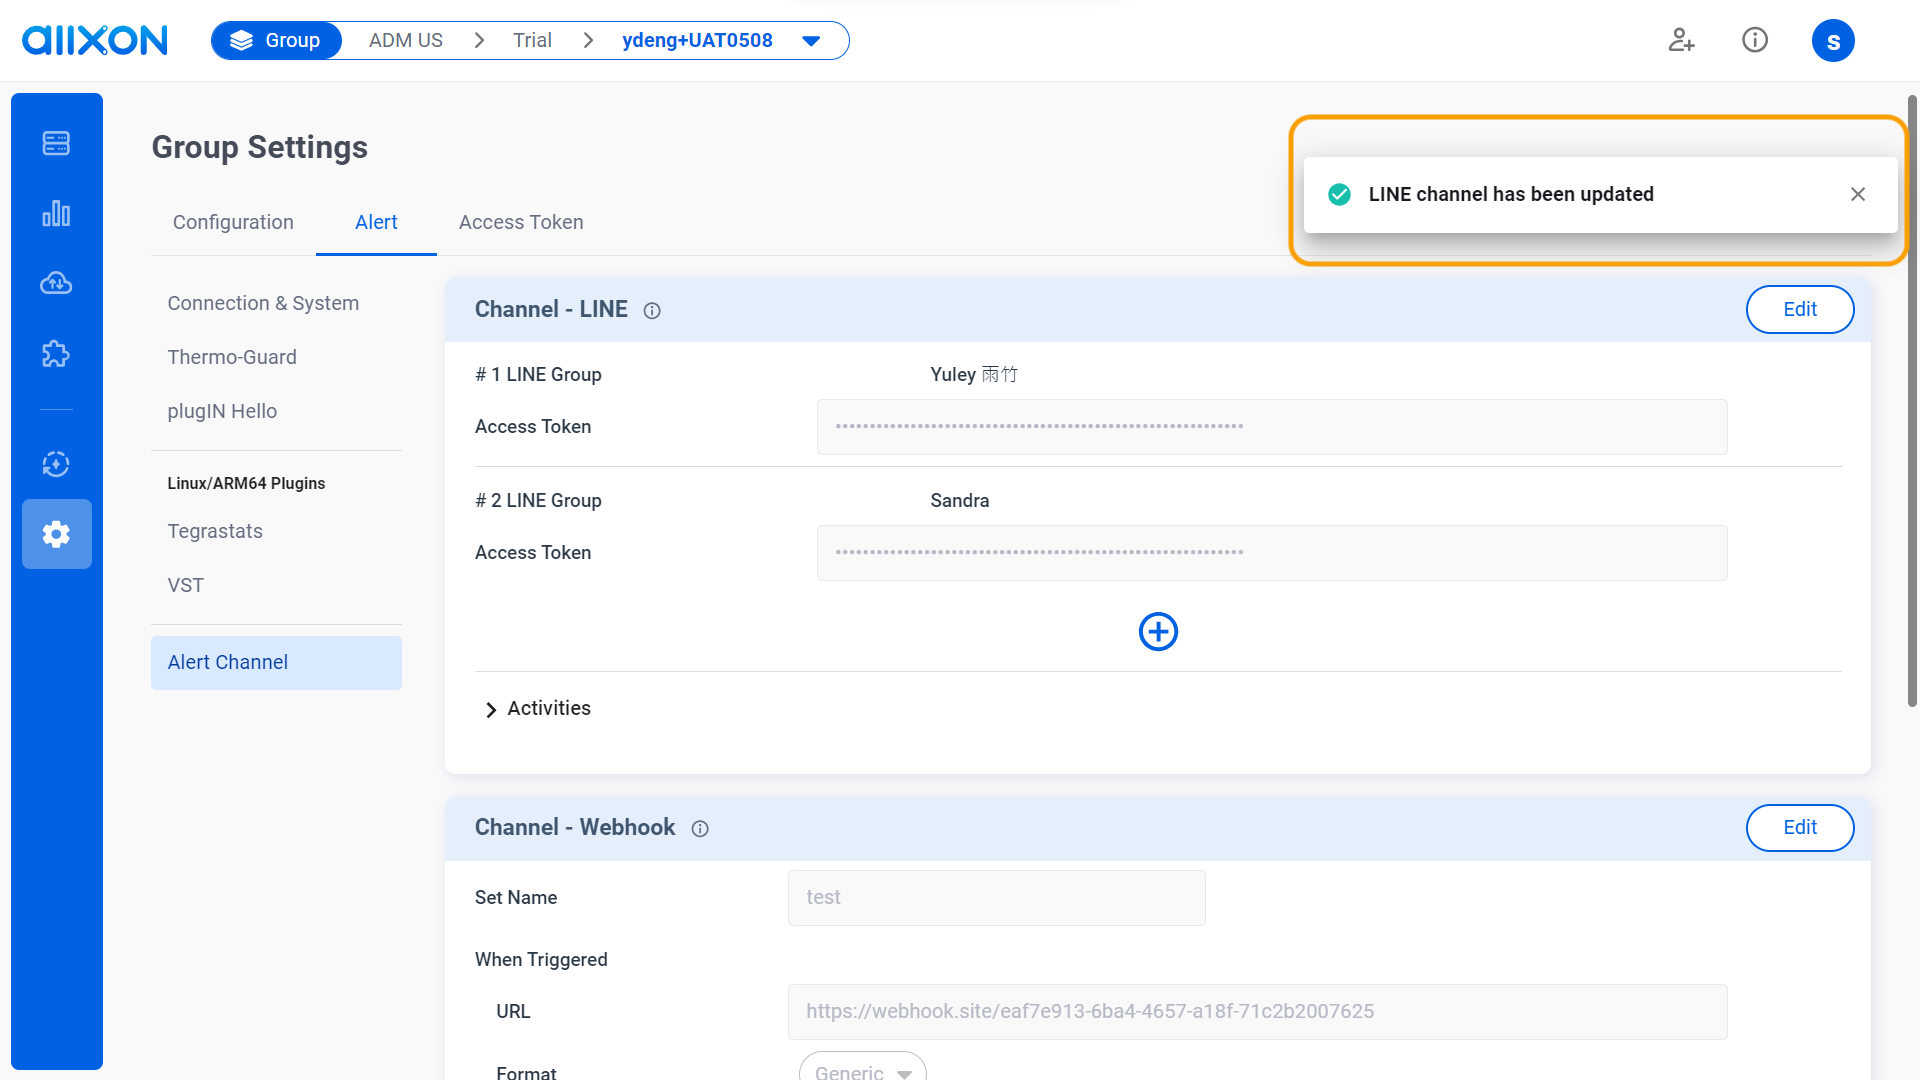
- After completing these steps, you can click on the drop-down arrow next to "Activities" and filter through the "Date and Time" tab to view the history and details of edited activities.
- Navigate to the Alert Tab, select the Channel-Webhook card, and click on the Edit button.
- Line (LINE Notify EOL Begins April 1, 2025):
👉🏻 Learn more: Group Settings Interface
💡Note: If you are using Allxon Agent version lower than v3.02 or earlier, head over to the Set Group Policies for more information.